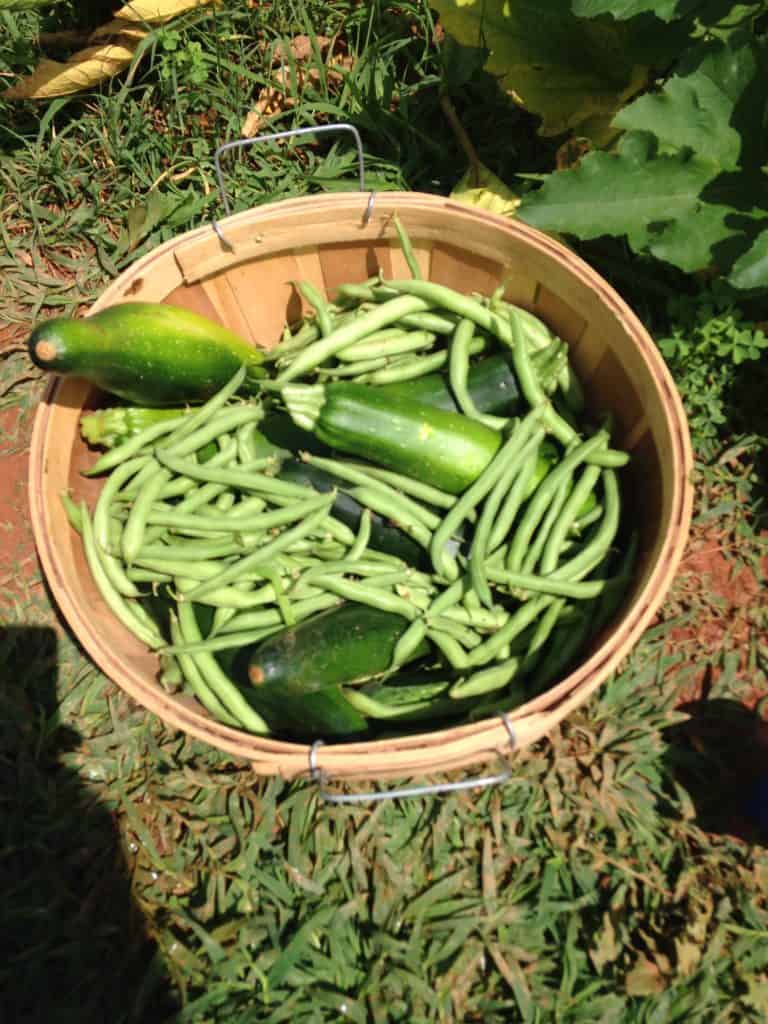
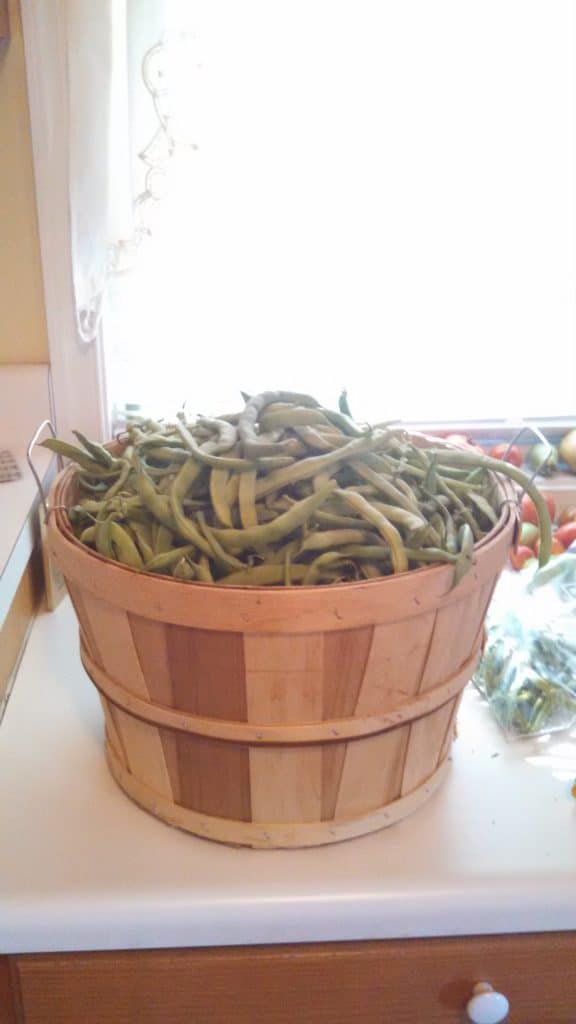
Why would you want to know how to freeze green beans? Let's say you are growing green beans and while harvesting your crop you realize you have grown WAAAAAY more than you and your family (and possibly your entire county) can hope to eat before they go bad. Maybe you’re in the grocery store and they have an unbelievable sale on green beans in a can (no judgement here). Either way, you have more beans than you know what to do with and you don’t want them to go to waste.
Using a similar technique to freezing Spaghetti Squash or freezing Sweet Potatoes, you can freeze those green beans and keep them as long as you need them. We love freezing vegetables, in fact, here's a whole list of vegetables you can freeze.
The first thing you will need is to actually get green beans. So go out and harvest your garden, make a trip to the farmer’s market or grocery produce section (or buy canned goods) and gather you green beans. For this blog we will assume you have fresh green beans.
Once you have your green beans, you will need to wash them. This is easy peasy. You will simply put your green beans into a container and run cold water over them. You will want to make sure that you turn them over several times by hand so the water has a chance to wash over everything.
Washing your green beans ensures that all the dirt, grime, pesticides (gasp!), or any other unwanted material will not be a part of the preserving process. We find the easiest way to wash our vegetables is to use a colander. This will allow the water to pass through and not pool in your container.
Your green bean has two distinct ends. One end is a flower end and the other is the end that attaches to the vine. All you need to do is hold your green bean close to the end you are snapping, break the end off, and pull the string the full length of the bean. You will want to repeat this for the other side. Then you will snap the bean in half (or several bite sized pieces) and put them aside. Repeat this until you have nothing but snapped green beans.
You can save the snapped ends for your chickens as an extra snack/boredom buster.
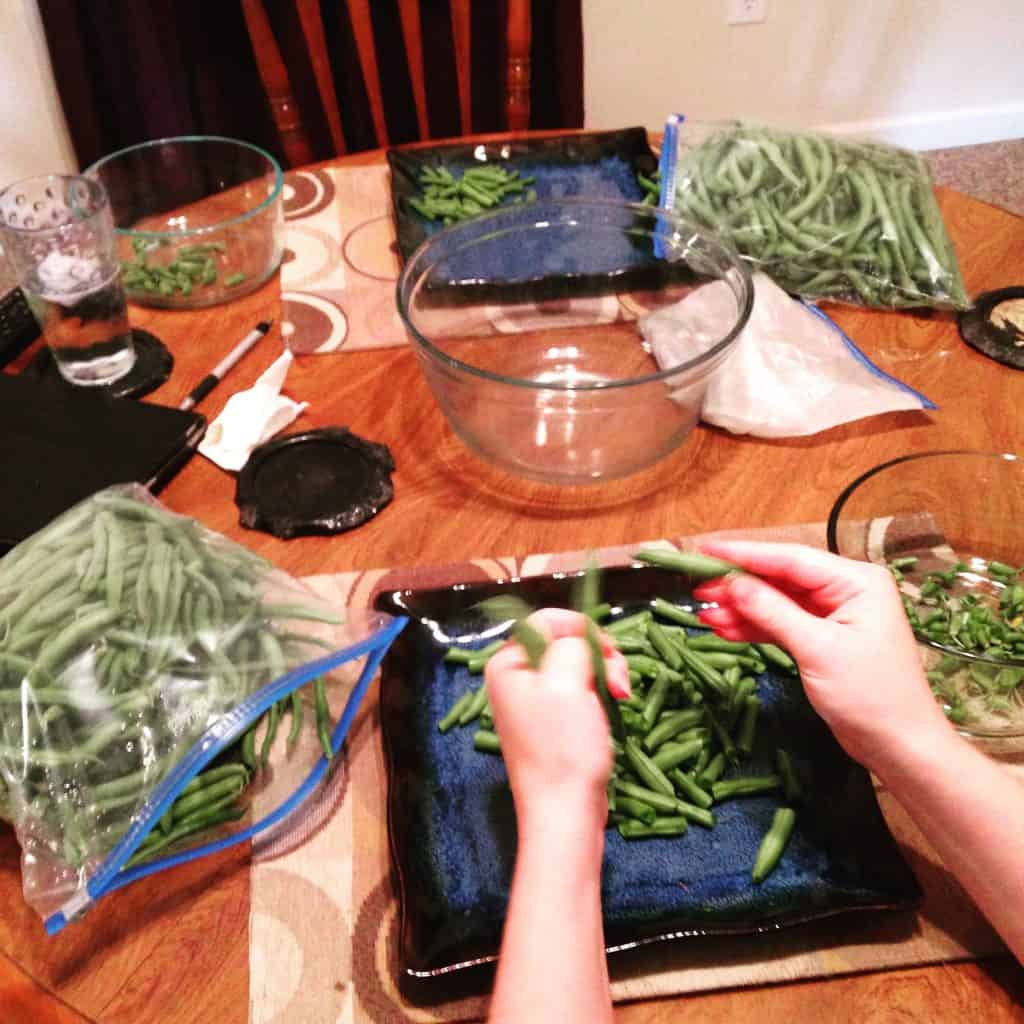
This next step is possibly the most important step of them all. It is called blanching and is what causes the green bean to essentially “pause” once they are frozen. The blanching process essentially destroys the enzymes that cause green beans to decay. These enzymes can survive during freezing temperatures and the green beans will continue to decay in the freezer.
The blanching process consists of three steps; preparation, boiling, and cool down. You will need a pot, a large bowl, and enough ice water to almost fill the bowl.
You will want to bring the pot of water to a rolling boil. While waiting for your water to boil, you can prepare your bowl of ice water. Next, take your snapped green beans and dump them into your pot. Let them boil for three minutes.
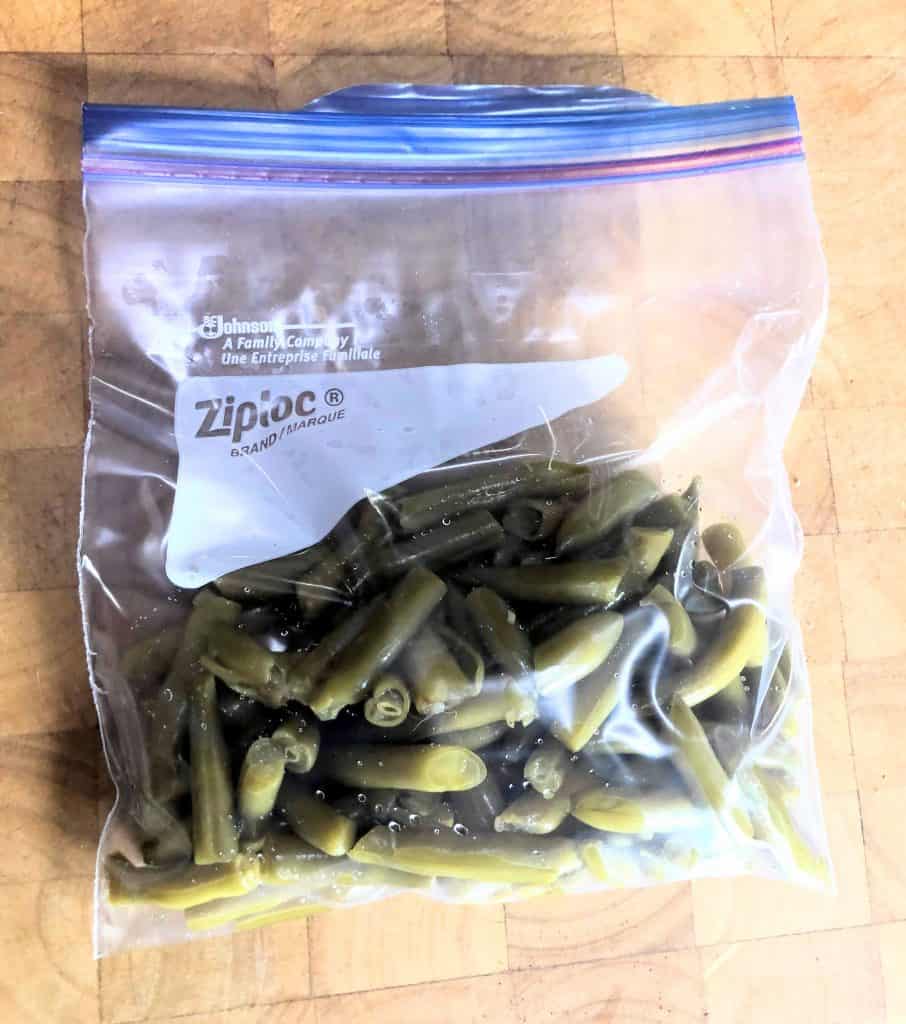
After three minutes, remove the beans from the boiling water and immediately place them in an ice bath. This phase is called rapid cooling and will stop the cooking process.
Once your green beans are cool and no longer cooking, it is time to portion and freeze. You can decide what portions work for you. We prefer to use quart size freezer bags and fill them with one to two measured cups.
If you are planning for a larger gathering or are feeding a large family, you can use gallon size freezer bags and just fill them up.
Finally, it’s time to freeze your green beans. This is probably the simplest step of them all. Simply label your bags (we put name, quantity, and date) and stick them in your freezer. Simple as that!

For more gardening tips
[pt_view id="5f37129sdf"]

