The first year that we started plants inside, it felt like a huge task transplanting plants from their little tray pods and into the ground safely. I mean, they look so fragile.
What if we break them? Or what if we pull their little leaves off getting them out of their pods? What if they don't grow once they are set in the ground? There were so many questions that need answers. But, it turns out that it really isn't that hard.
Here are some tips for successfully transplanting plants you started inside:
1. Harden them off
Since your plants have been living their entire lives indoors, they are not used to the harsh world of direct sunlight and wind.
Because of this, your plants will need a period of time to develop their strength. This is called hardening them off.
You can do this by slowly allowing them a little outside time each day for a while before transplanting them.
Alternatively, you can use a fan and shop light setup (as described in how to start plants inside) to get them use to light and wind. Then, when they are ready to go outside, it is a much smoother transition.
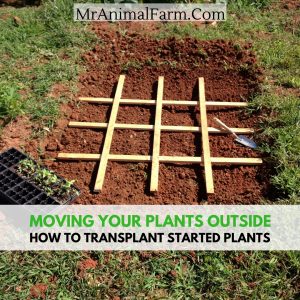
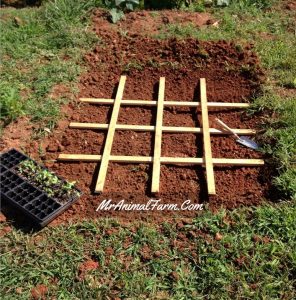
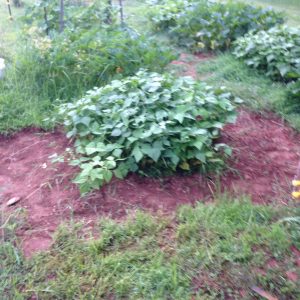
2. Prepare the transplant site
Make sure that you prepare the garden area into which you will transplant.
You can get it ready by marking the area off (we use the square foot gardening method). Tilling the area (using a tiller which is one of the highly recommended gardening supplies), or at least breaking up the soil as much as you can. An pre-watering the ground so that it is a welcoming environment for your plants.
If you have already tilled, and watered and fully prepared the area, it will just make it much easier to be able to go out and get your started plants in the ground without having to worry about all of the other setup.
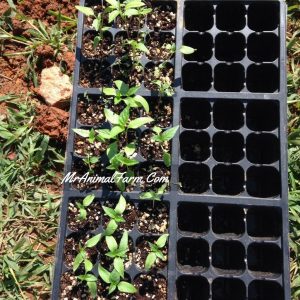
3. Make sure they are ready
Make sure that the plants are old enough/big enough for transplanting. I know as soon as we saw the green of leaves sprouting, we were excited and ready to take our seedlings outside. This would be a huge mistake. The first leaves are just the initial way the seedling can collect light so that it can grow.
What you are really waiting for is for the plant to develop it's "true leaves". They should have at least two true leaves. It is pretty easy to tell what a true leaf is, the first leaves the plant has look very generic, the true leaves will look "true" to what the adult plants leaves will look like.
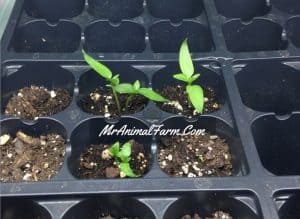
Once you see at least two true leaves and the plant is a decent size, it is ready to go outside!
4. Use the correct tools
Your job will be infinitely easier if you have the correct tools. It's easy to think you can just make due with what you already have (and that's okay to do if your situation does not permit you to buy more tools right now). However, you will thank yourself, in the long run, for having the correct tools for the job.
If you are using the square foot gardening method, you can either make a grid or purchase on to divide up your planting area. Our first year, we had a system of broken sticks and twine that we moved from box to box to make sure everything was even (it took FOREVER!).
You will need a small spade to dig a hole that is big enough to hold your started plant. You will want to make sure that the entire root system will fit into the hole.
You can also use an optional watering canister. The garden hose can be a bit too powerful for newly transplanted plants so we opt for a gentler watering method.
5. Free them from their pod
Gently pinch the bottom of the pod that the plant is in to help loosen it. Once it is loose, you can gently pull the plant from the starter pod.
6. Loosen the soil
Very gently break up the soil ball a little on the started plant so that it's roots can easily take root in it's new home.
7. Cover up
Once the root ball is in the hole, you will need to cover it up. Using your spade (or your hands, if you prefer to get dirty) cover the root ball up with new soil.
Gently pack it down so that the plant is secure in it's new place.
8. Give it a drink
As I said earlier, the standard garden hose will be too powerful for your new transplants.
Using a watering canister, lightly water your newly transplanted plants.
What plants will you be transplanting this year?
We Have More Gardening Tips For You Here
[pt_view id="5f37129sdf"]


Ola says
I’m learning a lot from this blog