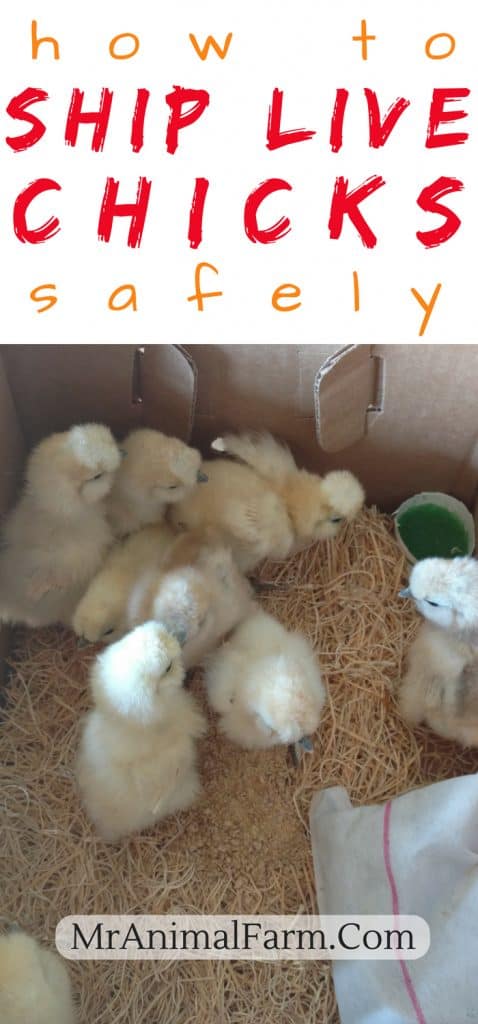
If you are hatching chicks, you may also be selling them too! And, if you are selling chicks, you may be wondering how to get them to people who are far from where you are. And that means you need to know how to ship live chicks.
Well, as you probably know, shipping day old chicks is an option. Without knowing how to ship live chicks it may seem really scary to stick them in a box and send them on their way.
As long as you have proper chick shipping supplies and follow a few chick shipping guidelines, you (and your sweet chicks) should be good to go!
Here is how to ship live chicks with our step-by-step guide
1. NPIP Certification
In order for chicks and hatching eggs to cross state lines, you will most likely need to be NPIP certified. NPIP certification is pretty easy to do, different states have different ways to complete the testing.
You should look up your state's way to get certified by looking at your state of agricultural services (names may vary some state to state). Some states also require AI (avian influenza) testing and/or import permits. You can contact the specific state department to be sure. Here is a general list of state by state requirements.
2. Shipping Supplies
Once you have your required paperwork taken care of, you will need to get some chick shipping supplies.
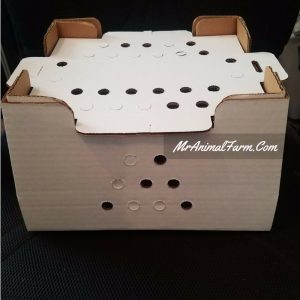
a. Chick Shipping Boxes
You can get these from a variety of different sources including searching on eBay. We use day old chick shipping boxes from Meyer Hatchery. You can fit 25 day old chicks in each box. Horizon boxes are also another good choice and you can get them at a variety of sources, just google Horizon shipping boxes.
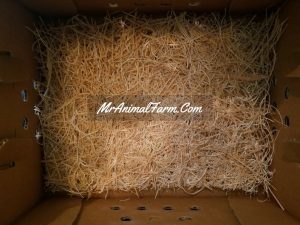
b. Straw Pads
You'll want a little straw pad to place in the box for your chicks. If you leave them on the slick cardboard it can cause issues such as splay leg. We again get our straw pads from Meyer Hatchery.
c. 72 Hour Heat Packs
As you already know, young chicks cannot regulate their own body temperature. Therefore, since they won't have a brooder and heat lamp during their shipping time, they will need heat packs to help keep them warm.
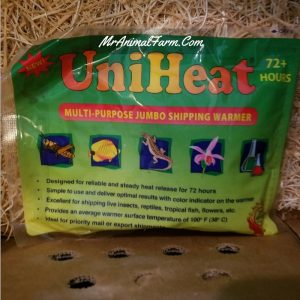
You can find these 72 hour heat packs for good prices by searching on eBay. Or, if you like a one stop shop, you can also find these at Meyer Hatchery.
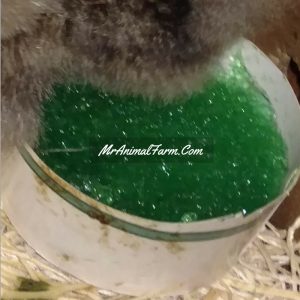
d. Grow Gel
Technically, chicks don't need any food or water for 72 hours after hatching. However, we always give them a little cup (cut a small paper cup in half) of grow gel to make sure they have it on their journey if they need it. You can find grow gel at Meyer Hatchery (of course!)
3. Make Sure They Have The Essentials
Once you have all of your supplies together, you will want to mix up your grow gel, put your box together and lay the straw pad and opened heat pack inside.
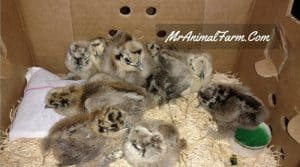
4. Pack Them Up
You can then load your little chicks into their shipping box. Be sure to clean up any pasty butt and make sure they look healthy and happy.
5. Prepare The Box For Shipping
Next, you will want to write the address to where you are shipping the chicks on the outside of the box. We also put "Hold for Pickup" and the person's phone number. This way the chicks don't go out on a delivery truck all day.
6. Send Them On Their Way
Finally, you can take your box of chicks to the local Post Office and ship them out!
Now, you should know how to ship chicks! If you have any questions, let us know below!

Angelique Weldon says
Hi. Do you recommend placing the heat pack on top of the pad or under? At what temperature do you not use a heat pack? Thank you.
MrAnimal Farm says
Hi Angelique,
We put the heat pack on top of the straw pad. We almost always use a heat pack since we are usually shipping small quantities of silkies. However, if it is middle of summer, 80 - 85+ we usually don't ship because in the trucks etc it can get super hot and cook the chicks. If you have large orders of large breed chicks, I would think you could forego the heat pack during warm times.
Best,
Kristin
Angelique Weldon says
Thank you for the reply!