Ready to make the leap into the world of raising baby chicks? This can be quite intimidating at first, there are a lot of things to learn and the chicks depend on your knowledge and care to stay healthy and thrive.
Some things you might be wondering are: what does daily care look like? How long do they need a heat lamp? What kind of feed do they need? This step by step guide has got you covered.
Raising Baby Chicks successfully starts with having the correct supplies. A safe brooder, heat lamp, thermometer, and feed. You must keep their brooder temperature at 95 - 100 degrees their first week of life and decrease it 5 degrees every week after that. They also need fresh food and water daily and to be checked for any potential health issues.
Want even more information? Check out Getting Started with Chickens eCourse for video tutorials to walk you through everything you need to know.
Raising Baby Chicks
Raising baby chicks is really not too hard. Make sure that you know how long chickens live before committing to getting chicks. Also be sure that you can have chickens where you live and that you know how many and what types you are allowed.
If you are new to chickens and need to know more about them, get familiar with chicken terminology.
After you have those bases covered you can jump right in to getting started.
Baby Chick Supplies
Baby chick supplies are not too terribly complicated. And you can get most everything you need for a fairly reasonable price. Use the list below and you will be all set to start with your new chicks.
1) Brooder
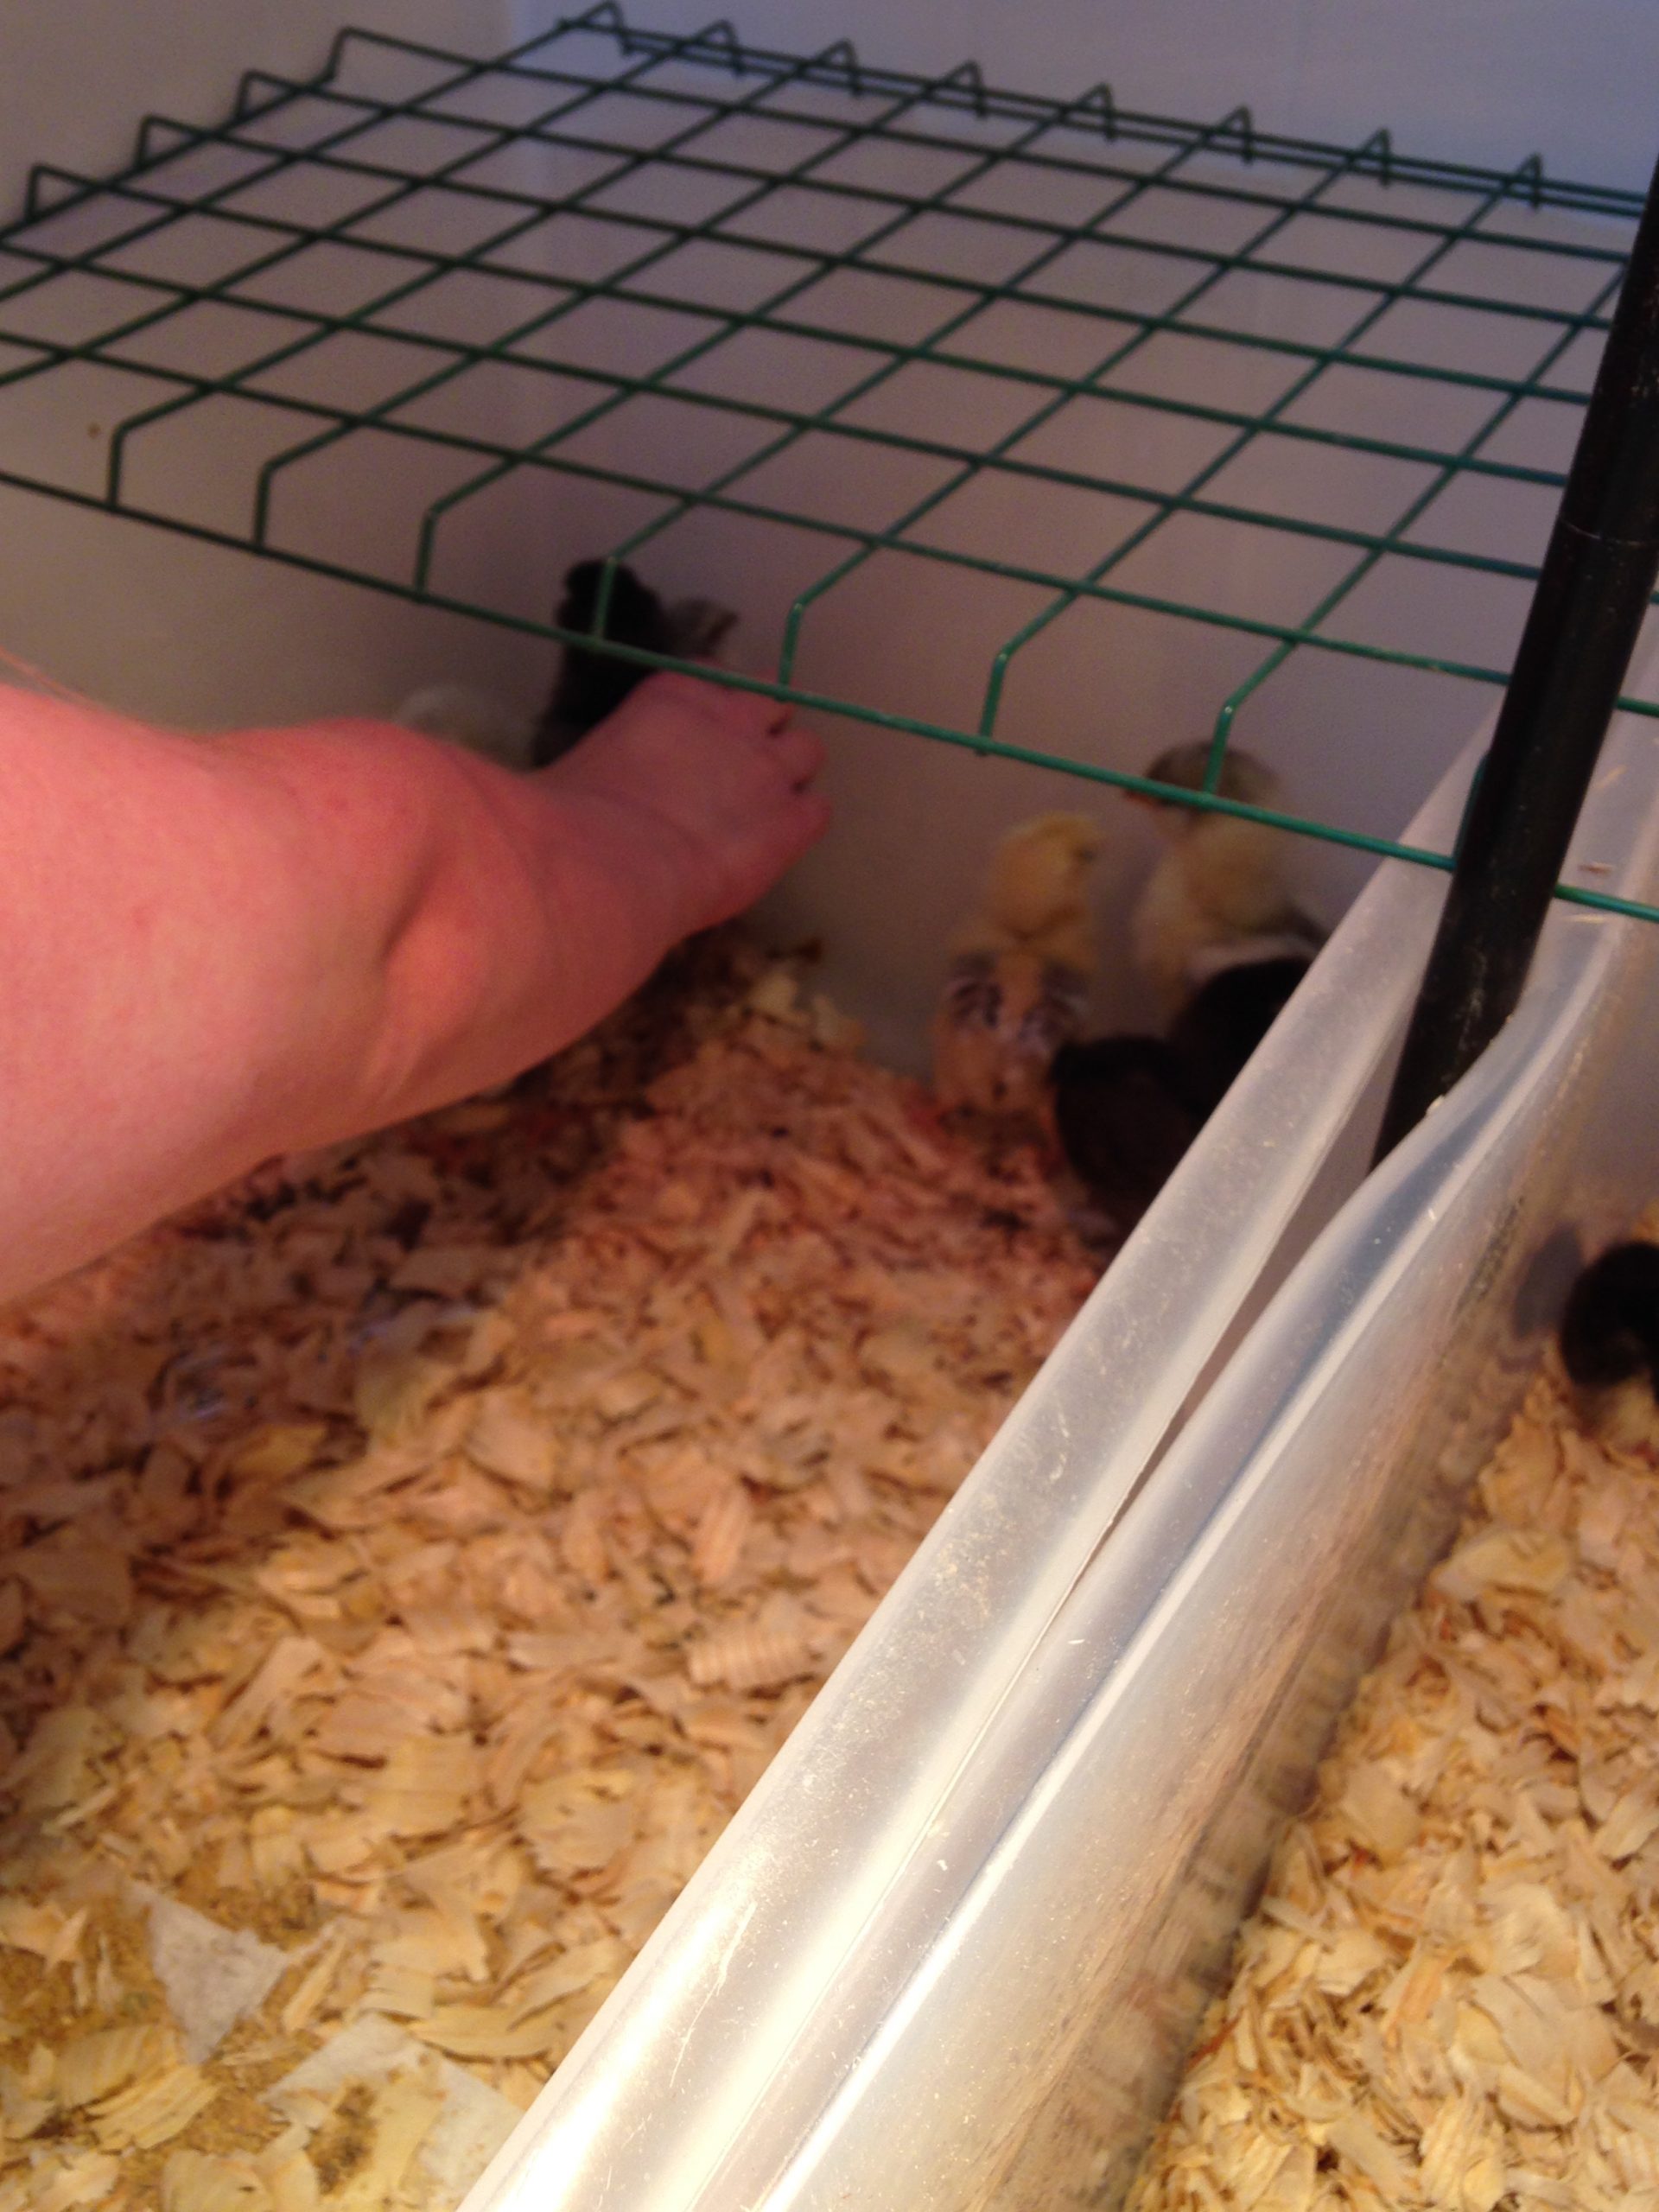
A brooder is essentially a box or enclosure of any type that is sufficient to keep the chicks in.
Brooders can come in lots of shapes and sizes. You can get pre-made brooder which is super convenient as it is ready to go at purchase. However, you can't really adjust to what size or space you have available.
You can use a big plastic tub. This is exactly what we use for small hatches. Or for the first week or so with large hatches before we move them to this DIY chicken brooder which is much larger.
Big feed troughs also work well as brooders.
2) Heat Source
Chicks cannot maintain their own body heat when newly hatched. Therefore, they will need a heat source in order to stay warm and alive.
The two main choices for heat sources are: a Heat Lamp (w/ bulb) or a heat plate like the Brinsea EcoGlow.
Heat lamps, while necessary (unless you hatched chicks with a broody hen), are a major fire hazard. Always make sure it is completely secure and well attached.
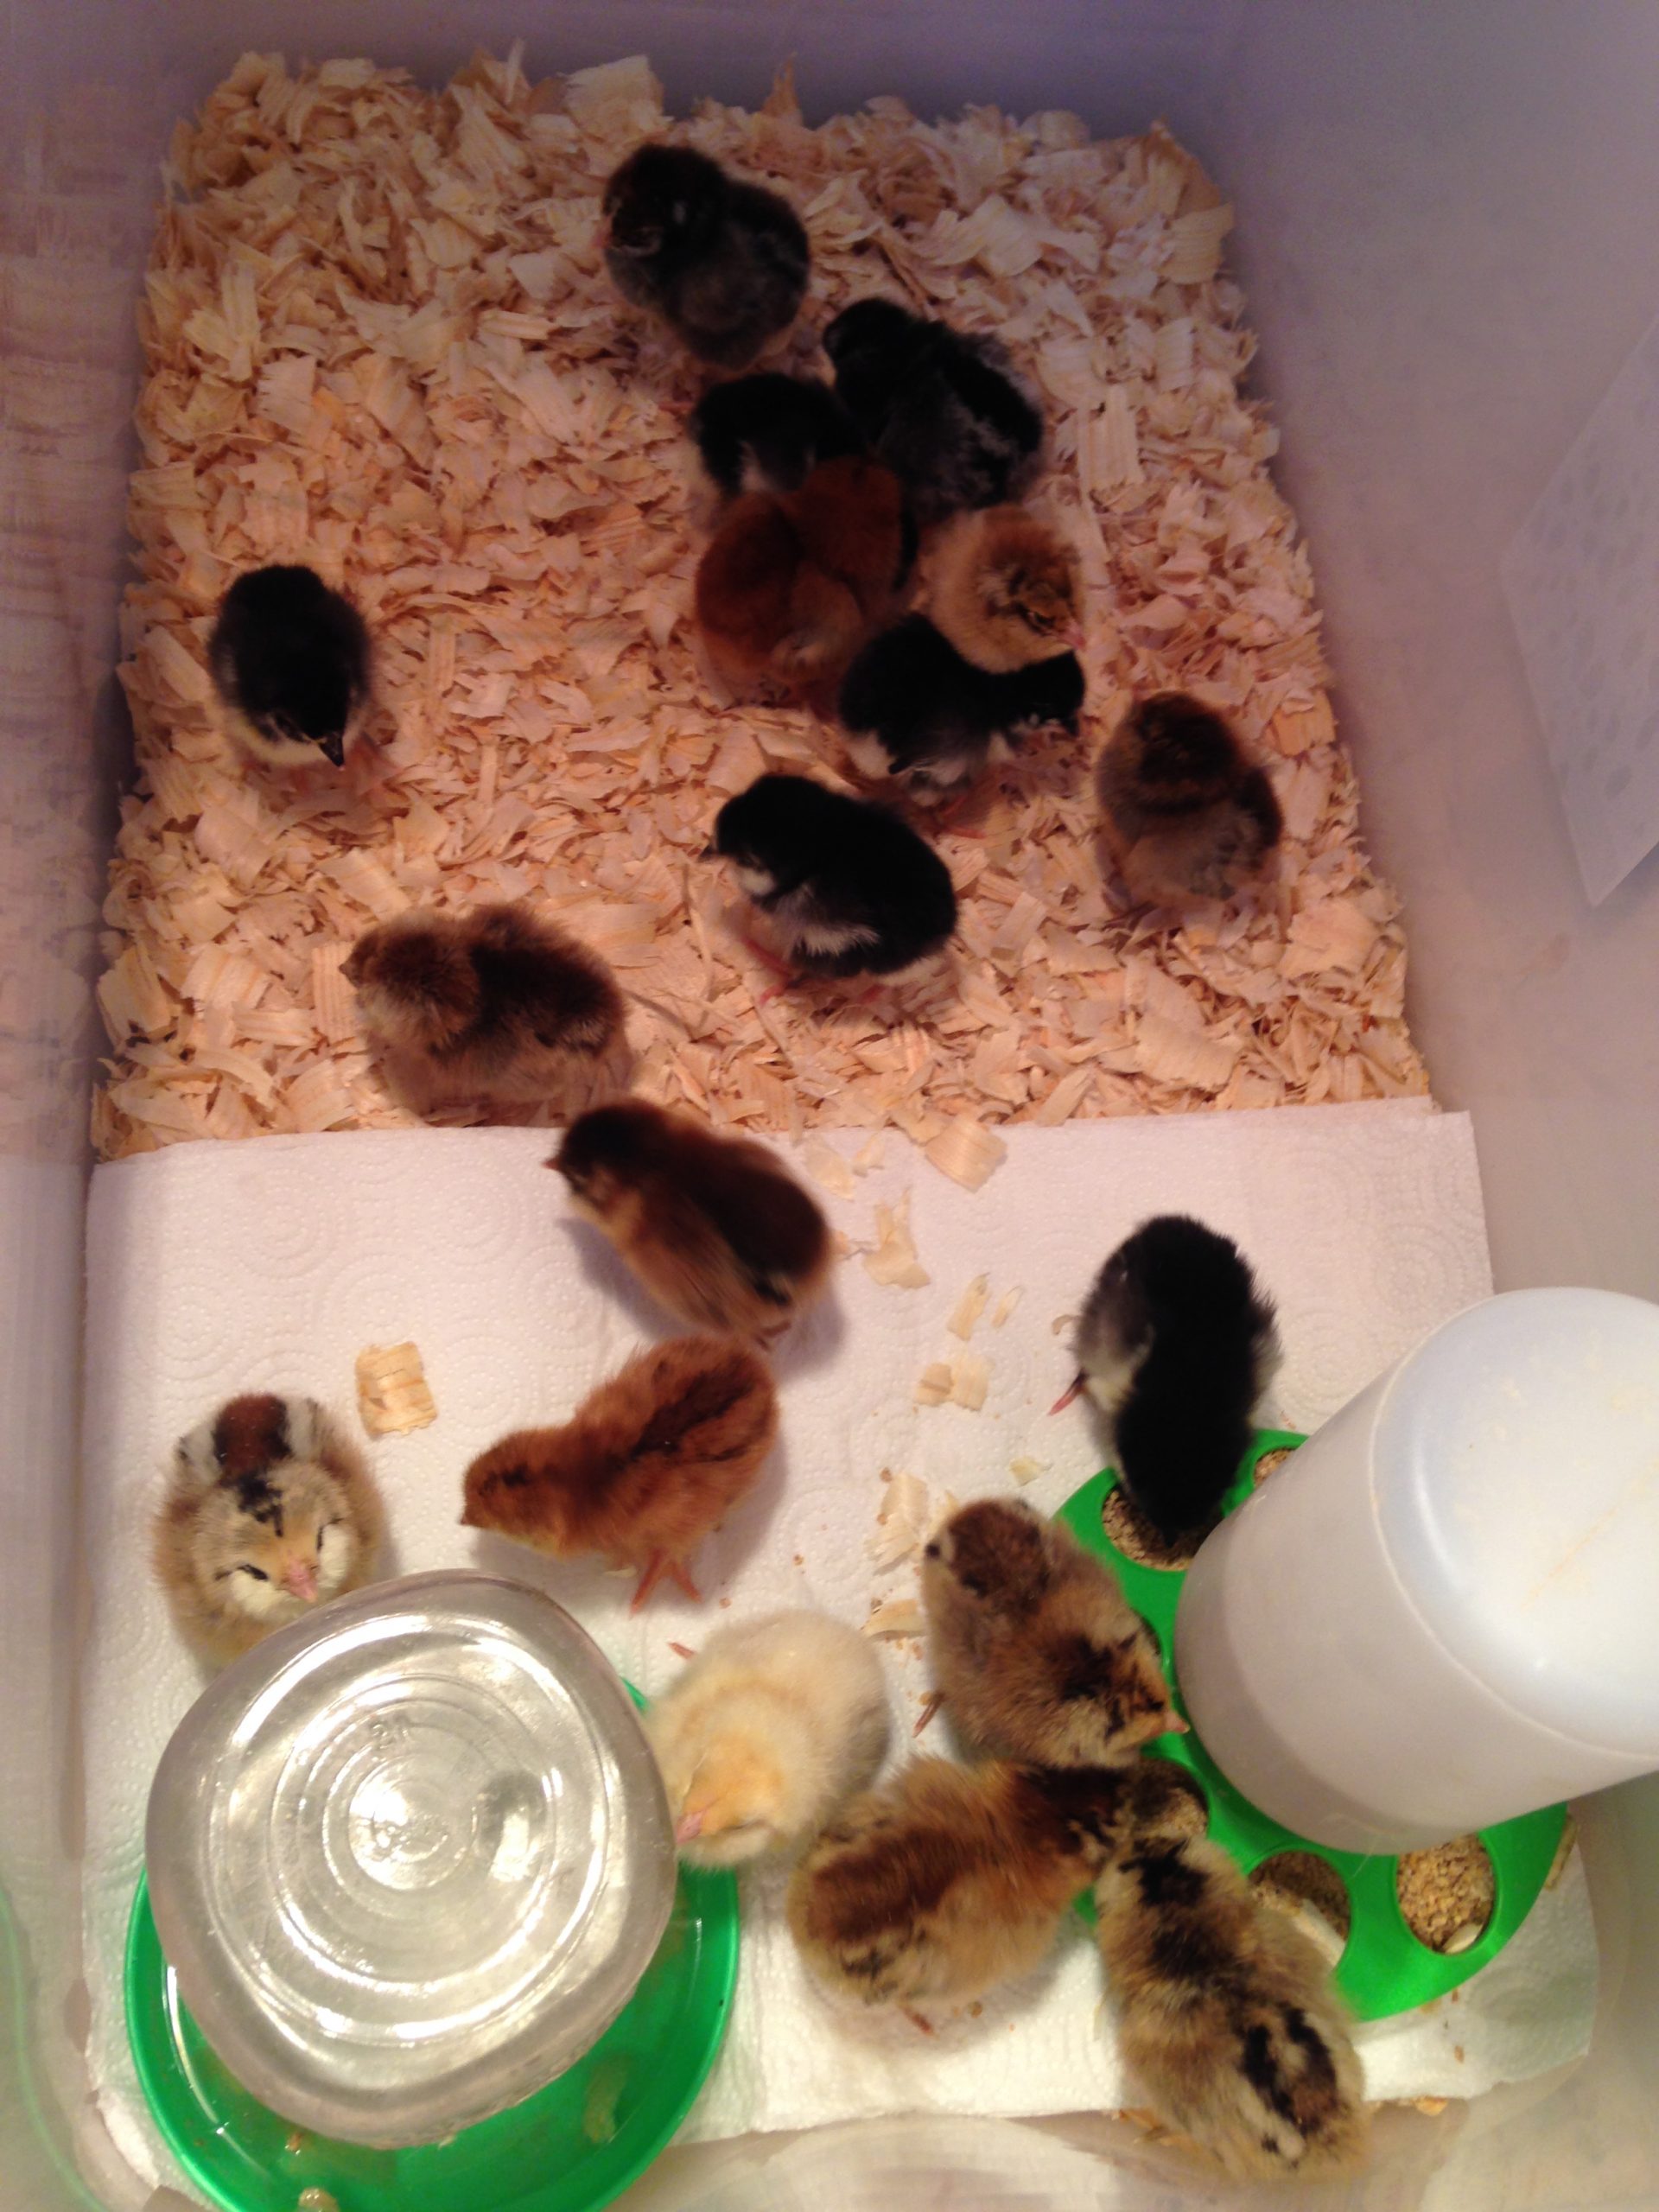
You will need pine shavings to use as bedding for the brooder. Your chicks need a non-slick surface to walk and stand on. They also need something a little comfortable to lay and sleep in.
It is important to use pine and not cedar shavings as cedar could be poisonous to chickens. There are some studies that show the aroma of the acids in cedar can damage their respiratory tract, but other evidence has shown it may not be too bad for them. Either way, better safe than sorry and just stick with using the proven pine ones.
4) Feeder and Waterer -- for chicks
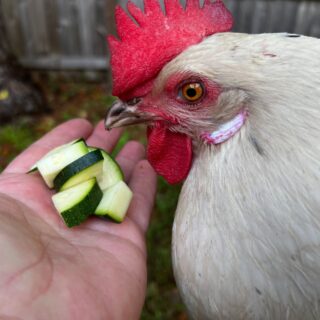
Your chicks will, of course, need a feeder and waterer. It is important to use the chick sized ones so that they can't fit in the feeder and get injured or get in the waterer and drown.
Optional, but recommended: We always add these decorative stones to the waterer. It helps to ensure the water is not deep enough in any spots for the chicks to drown in. This is particularly helpful if you have bantam chicks which are even smaller than standard size ones and can drown more easily.
5) Food
You'll of course need some food for your chicks. There are multiple different food choices available. The main thing that is important is to get chick starter feed. You don't want to get plain grower or layer feed because they have nutrients (such as calcium) in them that are not good for young chicks.
Sometimes you will see chick feed listed as starter/grower feed and that is fine to use for young chicks. However, if it only says grower feed then that is not appropriate for very young chicks.
The two main choices in starter feed are medicated chick feed and non-medicated chick feed. The medicated feed has, as you probably guessed, medication in it. The medication is for prevention and treatment of coccidiosis in chickens.
Medicated vs non-medicated feed is a personal choice. We always use non-medicated as we try to raise our animals naturally whenever possible.
Since you'll be adding supplemental heat for your chicks, you need a way to tell how warm their brooder is. To do this, add a thermometer. This flat thermometer is the one we use. It is accurate, doesn't take up much space and is easy to wipe off when the chicks inevitably poop on it.
7) Chicks
You'll also need chicks, duh! Make sure you decide what chicken breeds work for you. And then, you can decide where to get them from. You might be incubating chicken eggs, or buying day old chicks. No matter where you get them from, you'll need some.
You should also decide if you want chicks that have been vaccinated for diseases such as Mareks or if you will learn how to vaccinate chicks yourself.
Brooder Set Up:
Once you have gathered your supplies you will want to get your brooder ready. Here are the step-by-step instructions to do so:
1) Place Brooder
The first thing you want to do is decide where you will be keeping your brooder. You will need an outlet for your heat source nearby. Also, as the chicks get older they will blow fluff everywhere, so near food or a common living area is not a great option.
We usually keep our brooder in the shower of our second bathroom. Easy to clean up the dust and fluff. And there is an outlet and water source nearby also.
You will also want to be sure that the room is climate controlled if possible. You will be adding a heat source, but if the room has large changes, it will be difficult to keep your brooder temperature correct.
2) Add Bedding
Next, you need to add the bedding to your brooder. To do this, you simply fill the bottom of the brooder with a few inches of the pine shavings.
3) Add Paper Towels (optional)
Newly hatched chicks sometimes are so small they have difficulty walking on the pine shavings. So, we like to add a layer of paper towels on to of the pine for their first few days to first week until they get better on their feet.
Make sure to use paper towels (which have a texture) and not anything like newspaper (which is too slick and can cause issues like splay leg).
4) Fill up their food and water
Add your chick feeders, filled with chick starter feed. And chick waterer filled with fresh water and decorative stones in the reservoir.
You will want to make sure, especially the waterer, that these are both stable and not tipping over at all otherwise they may fall over and make a mess or crush chicks.
5) Warm it up
Once everything has been added, you will set up your heat lamp or your heat plate. Make sure to get the brooder warmed up to 95-100 degrees Fahrenheit. Once the temperature is set up, you can add your chicks in.
Want even more information? Check out Getting Started with Chickens eCourse for video tutorials to walk you through everything you need to know.
Baby Chick Daily Care
The chicks do need some attention over the next 8 weeks or so until they are fully feathered and ready to go outside. The following are the things you'll need to do to raise your new baby chicks.
When you first add your chicks to the brooder, be sure to dip their beaks in the water and food so that they know when to find them.
1) Chick Brooder Temperature
Newly hatched chicks are not able to maintain their own body temperature. Therefore, they needed added heat. As the chicks get older, they get better at regulating their temperature. Also, as the chicks get their adult feathers, their need for supplemental heat also decreases.
Keeping a correct chick brooder temperature is essential to keeping your chicks healthy as if they get too hot or too cold it can cause severe health issues including death.
You should keep a thermometer in your brooder to monitor the temperature. However, also be aware of your chicks behavior as a que to whether or not the temperature is where they need it.
If chicks are panting, spread out, wings spread out then they are too hot and you need to lower the temperature. If the chicks are lethargic, head drooping and huddled together then then are too cold and you need to raise the temperature.
Heat plates and heat bulbs do not have thermostats on them to adjust the temperature. In order to increase the brooder temperature, you need to lower the bulb or plate. In order to increase the brooder temperature, you need to raise the bulb or plate.
Chick Temperature Chart
Here are the general temperature guidelines week by week for baby chick care:
| Week/age | Temperature (in Fahrenheit) |
|---|---|
| Week 1 | 95 degrees |
| Week 2 | 90 degrees |
| Week 3 | 85 degrees |
| Week 4 | 80 degrees |
| Week 5 | 75 degrees |
| Week 6 | 70 degrees |
| Week 7 | 65 degrees |
| Week 8 | Move them outside as long as it is warm enough |
2) Food and Water
Make sure both items are full and kept clean. The bigger the chicks are the more mess they will make everywhere.
Pro tip: Use a small metal grate or piece of wood to place the waterer on after the chicks are a week or so old. This will help keep them from knocking it over and also help keep it clean.
3) Clean brooder
You will need to clean out the pine at least once a week. If any water spills you will want to clean that out immediately to keep them dry and healthy.
If you are raising a lot of baby chicks, you might want to consider making a more heavy duty brooder with these chick brooder plans.
4) Health Issues
You will also need to keep an eye on your chicks to make sure they are healthy.
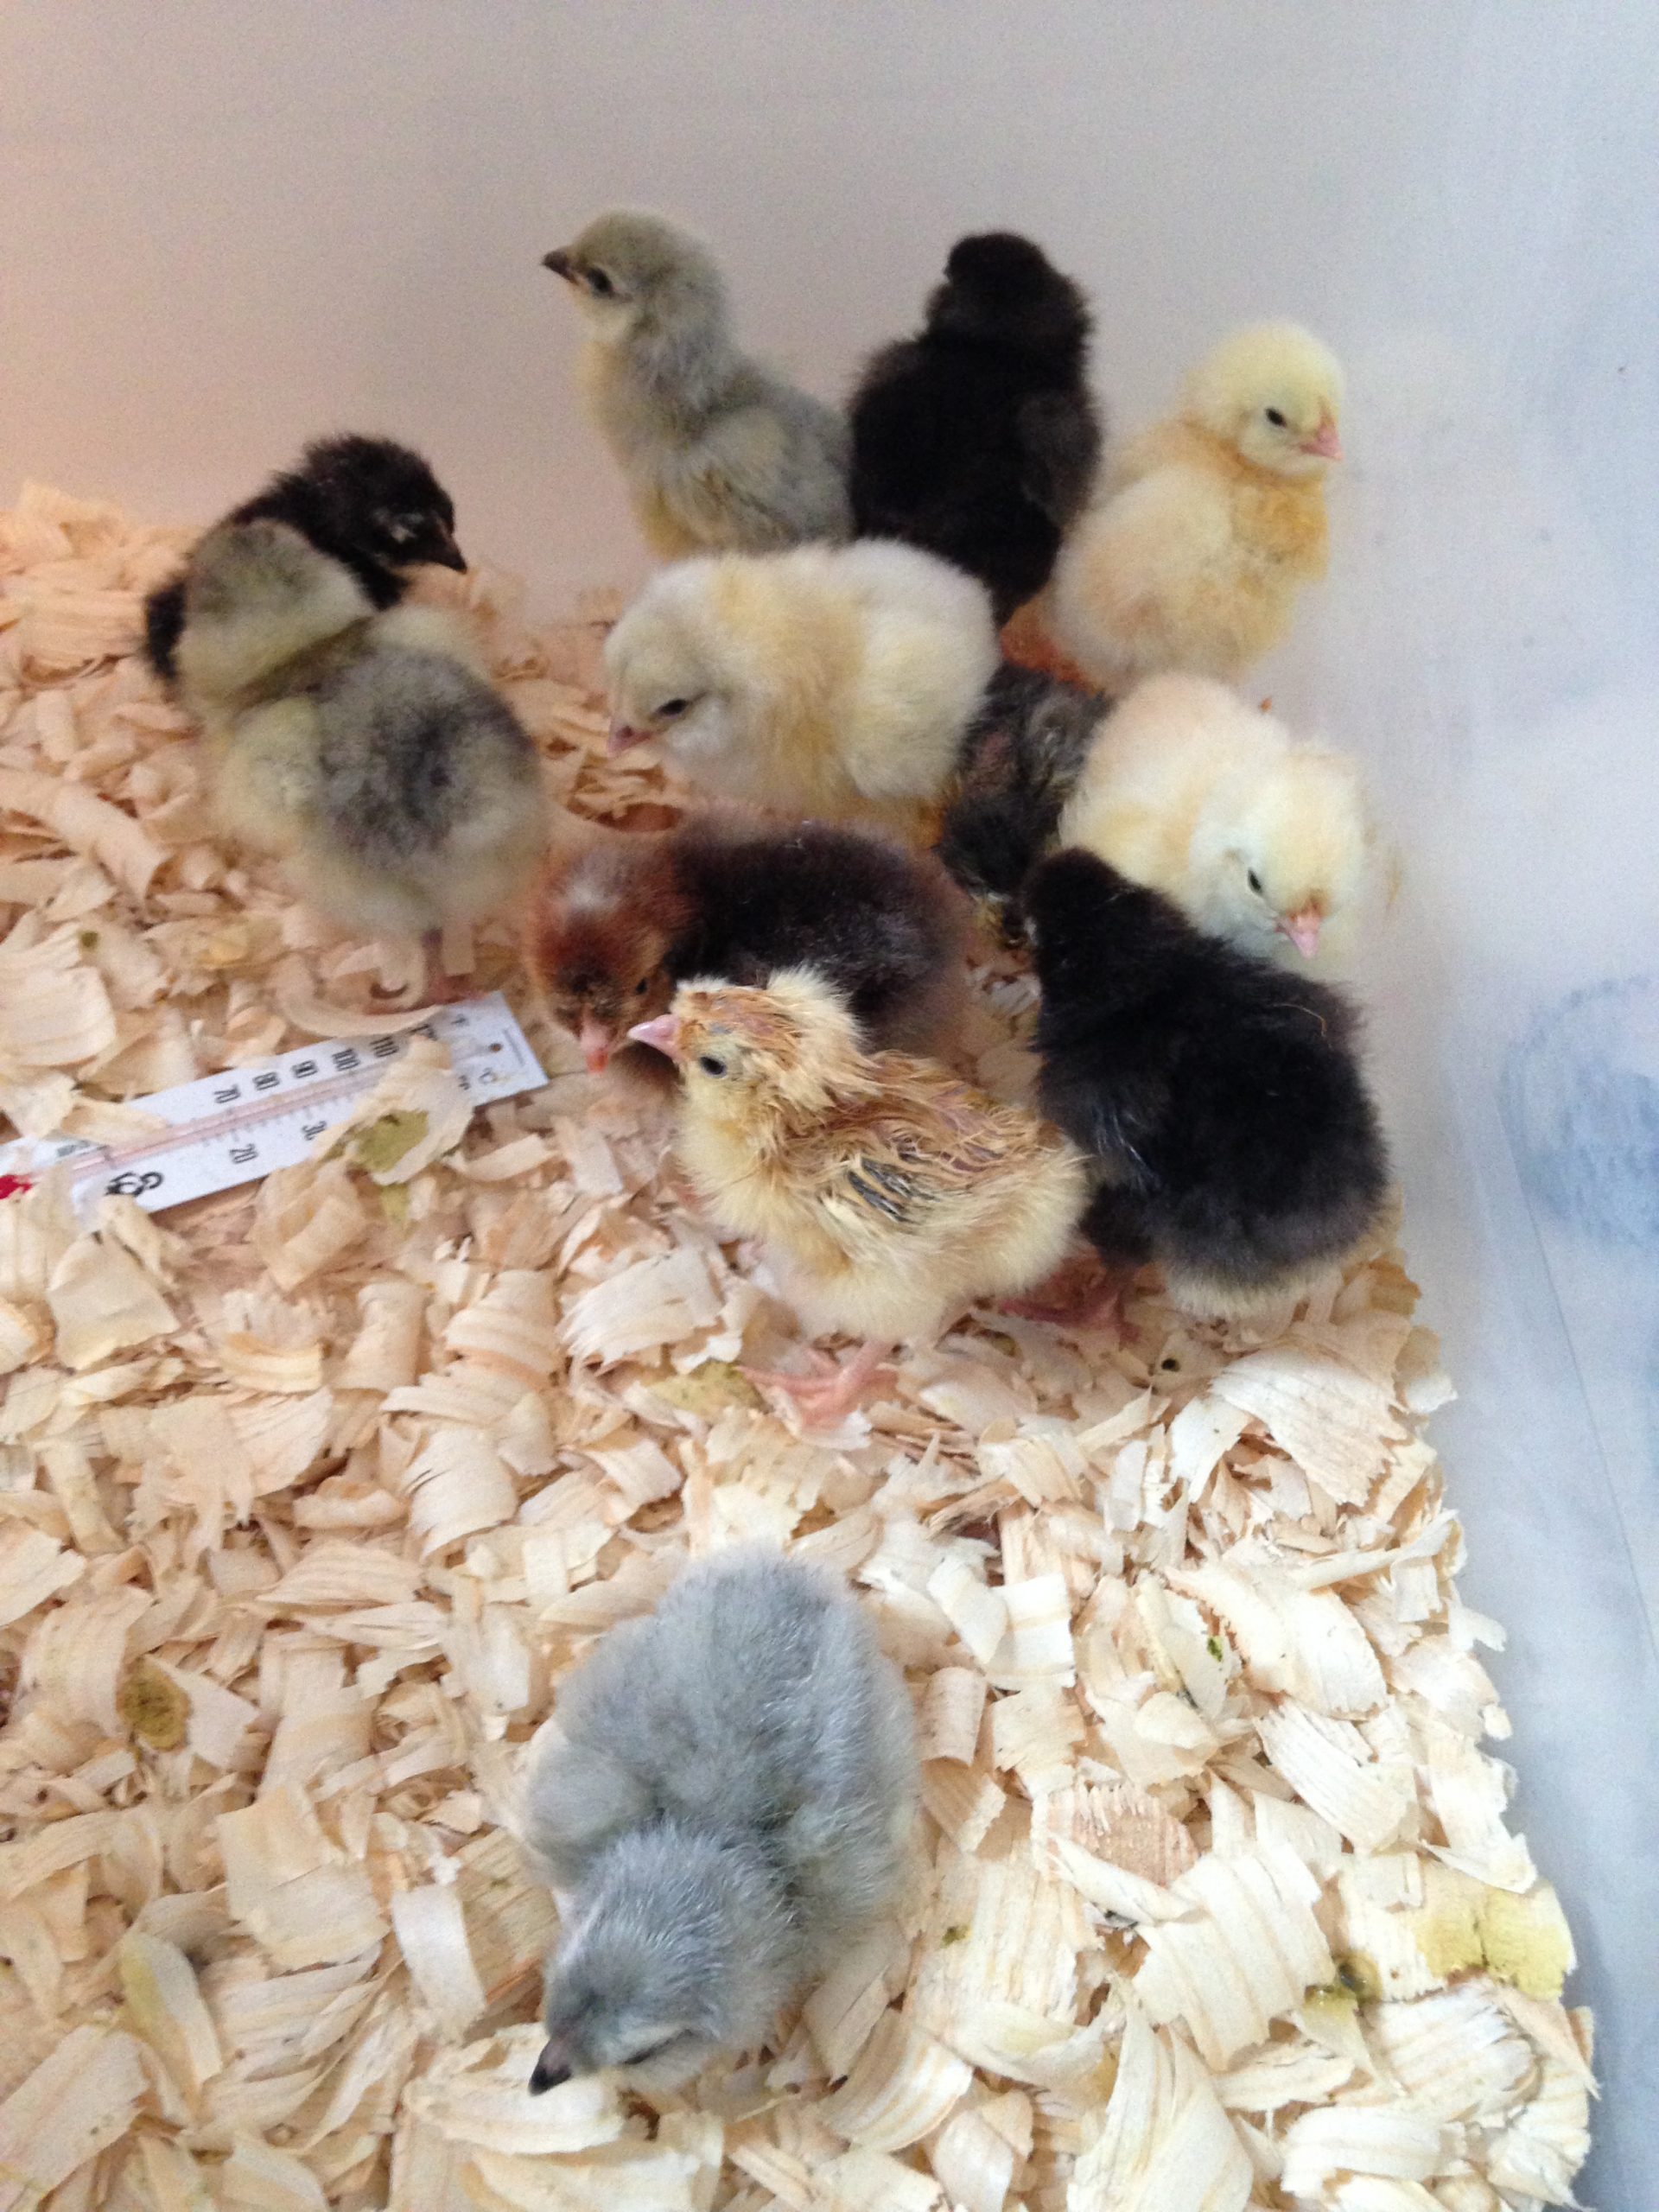
In general, healthy chicks are bright eyed, alert, active and not puffed up. Sick or struggling chicks can appear lethargic, droopy eyed (sleepy all the time), and have their feathers, wings and fluff puffed up.
If any of your chicks is struggling, you might want to check for some of the following:
- Coccidiosis - this is a common parasite that causes issues for young chicks. Lethargy and gross or bloody poop are some of the key signs of this issue.
- Pasty butt - is when the chicks get their poop stuck over their vent. It is not the most pleasant part of raising chicks, but you must keep them clean otherwise they won't be able to go to the bathroom and it can kill them.
- Splay or Spraddle Leg - a condition that is essentially a slipped tendon in their leg/knee. They will look like they are doing a split. And will need their leg braced.
- Curled Toes - is exactly what it sounds like. The chicks toes will be curled over and need help to straighten them out.
- Lice and Mites - although less common - and shouldn't be an issue if you hatched them on your own and put them straight into a clean brooder. It is possible for chicks to get lice or mites if you get them from a place that has them.
5) Moving outside
Once your chicks are fully feathered and are off supplemental heat inside, they can be moved outside to the big coop and off heat. Make sure that the outside temperature is not too cold. You will want to take time and care if you are integrating new chickens into a flock.
Baby Chick Care Week by Week
Now that you know the general care that it takes to raise baby chicks, let's break it down week by week so that you know what to expect.
1 Week Old Chicks
From hatching to a week old, chicks are relatively simple to take care of. They are small, don't create much of a mess and aren't very active yet. In fact, when chicks hatch they absorb their yolk sac and do not need food or water for up to 72 hours.
Though birth to week old chicks are easy to care for, they do need to be warm enough. That is the main concern at this age - ensuring they have a good brooder temperature of 95 degrees is essential.
2 Week Old Chicks
At two weeks old, chicks start to eat a little more. They also become more active. Both of these facts causes an increase in mess in their brooder. So, it is important to check regularly and ensure their space is clean.
Additionally, at 1 - 2 weeks, chicks start to blow their fluff and start to get their feathers. As their feathers come in, you can lower brooder temperature to 90 degrees.
3 Week Old Chicks
At 3 weeks old, chicks really start to grow quickly, seemingly changing every day. They get more and more feathers which decreases their need for heat a little. You can adjust the heat in the brooder to 85 degrees.
You may also want to add a perch of some type into their brooder at this point for them to start to learn how to roost on.
4 Week Old Chicks
4 week old chicks are almost fully feathered at this point. You can knock the chick brooder temperature down another 5 degrees to 80 degrees at this stage.
I find at this age they start getting even more active and often times need a lot more clean up - they may start knocking water and food over occasionally.
5 Week Old & 6 Week Old Chicks
5 - 6 week old chicks are usually fully feathered. So you can take them to 75 degrees at 5 weeks and 70 degrees at 6 weeks. Depending on where you live and the time of year, this may mean that you can remove the heat lamp and/or even start letting them have supervised time outside.
7 Week Old & 8 Week Old Chicks
7 - 8 week old chicks start to look like miniature adult chickens. If you have certain breeds like Marans, you may even start to tell if you have a hen or rooster based on comb development at this age.
At this age, they will start eating quite a lot and will need feed and water watched twice daily to ensure they are filled and clean.
Also at this point, outside temperature permitting, you can start thinking about integrating the chicks with your existing flock.
FAQ
How long do baby chicks need a heat lamp?
Baby chicks typically need a heat lamp until they are about 8 weeks old and fully feathered. If they are in a climate controlled room inside, then they may be able to come off of heat a little earlier than 8 weeks.
When can baby chicks go outside to play?
Baby chicks can go outside to play for small periods of time, under supervision and if the temperature is warm enough when they are a few weeks old.
How do you know if a chick is male or female?
It can be extremely difficult to tell if a chicks is a male or female. A few ways to sex a chicken are: vent sexing, wing sexing, and coloration for autosexing breeds.
Why do baby chicks suddenly die?
Coccidiosis is one of the most common reasons that baby chicks suddenly die. However, chicks can die from a variety of different reasons from temperature issues in the brooder to pasty butt to genetic issues.
Do baby chicks sleep a lot?
Yes, baby chicks do sleep a lot. Especially week old chicks will sleep a lot. As they grow older, week by week, they will sleep less and be more active. Even though they do sleep a lot, they should also have active time periods. If your chicks don't seem to be active at all, there may be issues with your brooder temperature or their overall health.
Do baby chicks need light at night?
No, baby chicks do not need a light at night. They need to be able to sleep and have a regular sleep cycle. However, they do still need heat at night, so they will have the heat lamp on at night for their first few weeks.
If you need more help with taking care of your chickens, check out The Organized Chicken Keeper for a complete system for managing their health through keeping their supplies stocked and coop clean.


Joseph Rodrick says
Love the Article . . . Sincerely . . . Was hoping to find info/suggestions for introducing/adding the new chick to the existing flock, and at what age.
MrAnimal Farm says
Hi Joseph,
If you check out Integrating Chickens to the Flock there are some tips there. Typically chicks can go outside at around 8 weeks in age, the age, size, temperament and number of your existing flock will determine how old the new chicks should be when they are integrated.
Best,
Kristin