• Skip to primary navigation
  • Skip to main content
  • Skip to primary sidebar
  • Skip to footer
  • Site Index
  • Fall Homesteading
  • Shop
    • Profitable Homesteading System
    • Jumpstart Your Homestead
    • Organized Chicken Keeper
    • G.O.A.T. Herd Management System
    • The Ultimate Planner for Breeding Goats
    • Couponing for Beginners Planner
  • Nigerian Dwarf Goats for Sale
    • Nigerian Dwarf Goats
  • About

Mranimal Farm

All About Silkies, Nigerian Dwarf Goats & More

menu icon
go to homepage
subscribe
search icon
Homepage link
  • Site Index
  • Fall Homesteading
  • Shop
  • About
  • Contact
  • ×
    Home

    Blog

    5 Fall Farm Activities You Should Consider

    By MrAnimal Farm

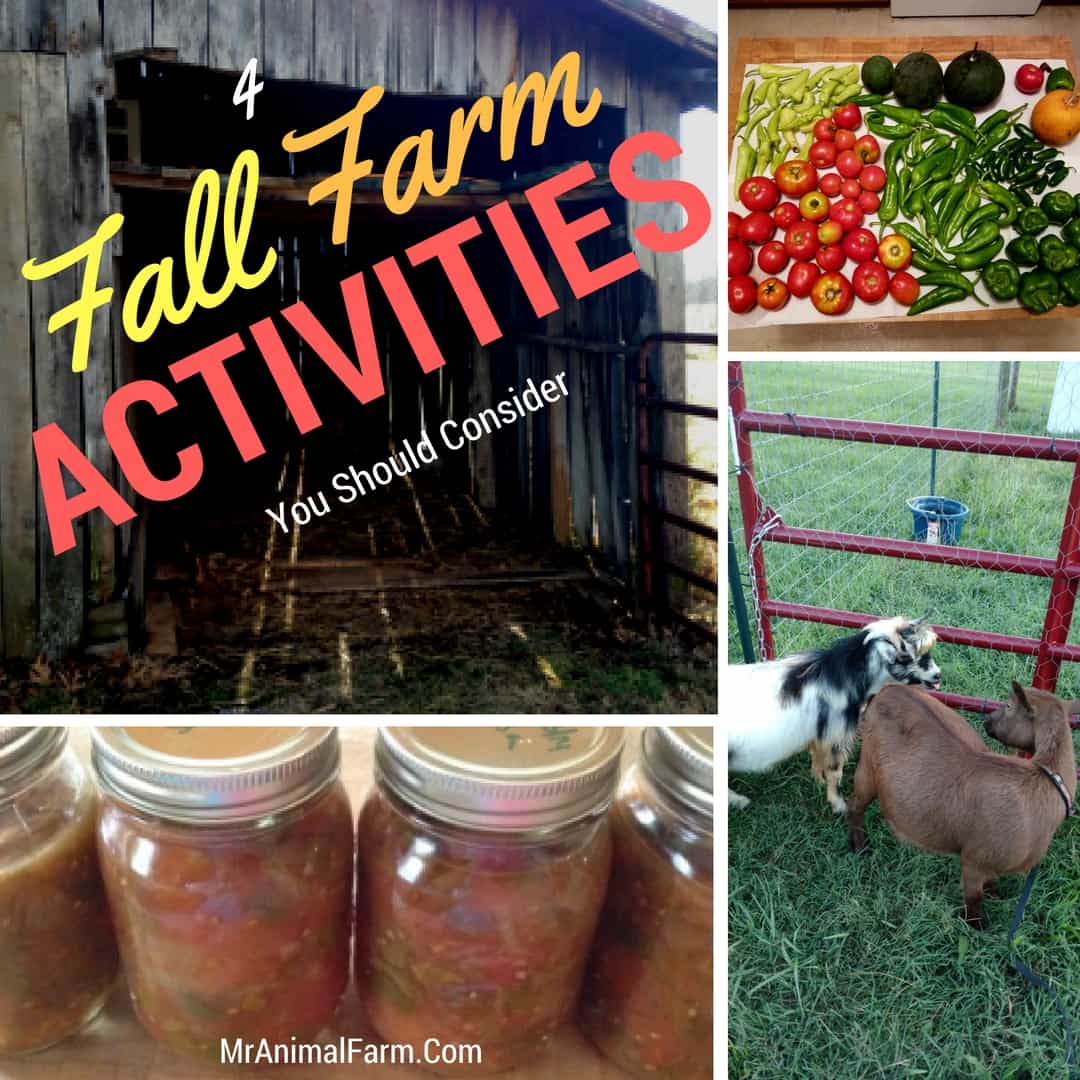
    4 Fall Farm Activities

    Ok, so there are a lot of summer farm activities to tackle: gardening, chickens laying eggs like crazy and it is HOT out! But, once October hits, what are some Fall farm activities that you should be working on?

    Keep reading for some great ideas that will keep your homestead goals going.

    Here are 5 Fall Farm Activities to get you started:

    1. Fall Garden Crops
    2. Garden Clean Out
    3. Goat Breeding
    4. Building Projects
    5. Food Preservation
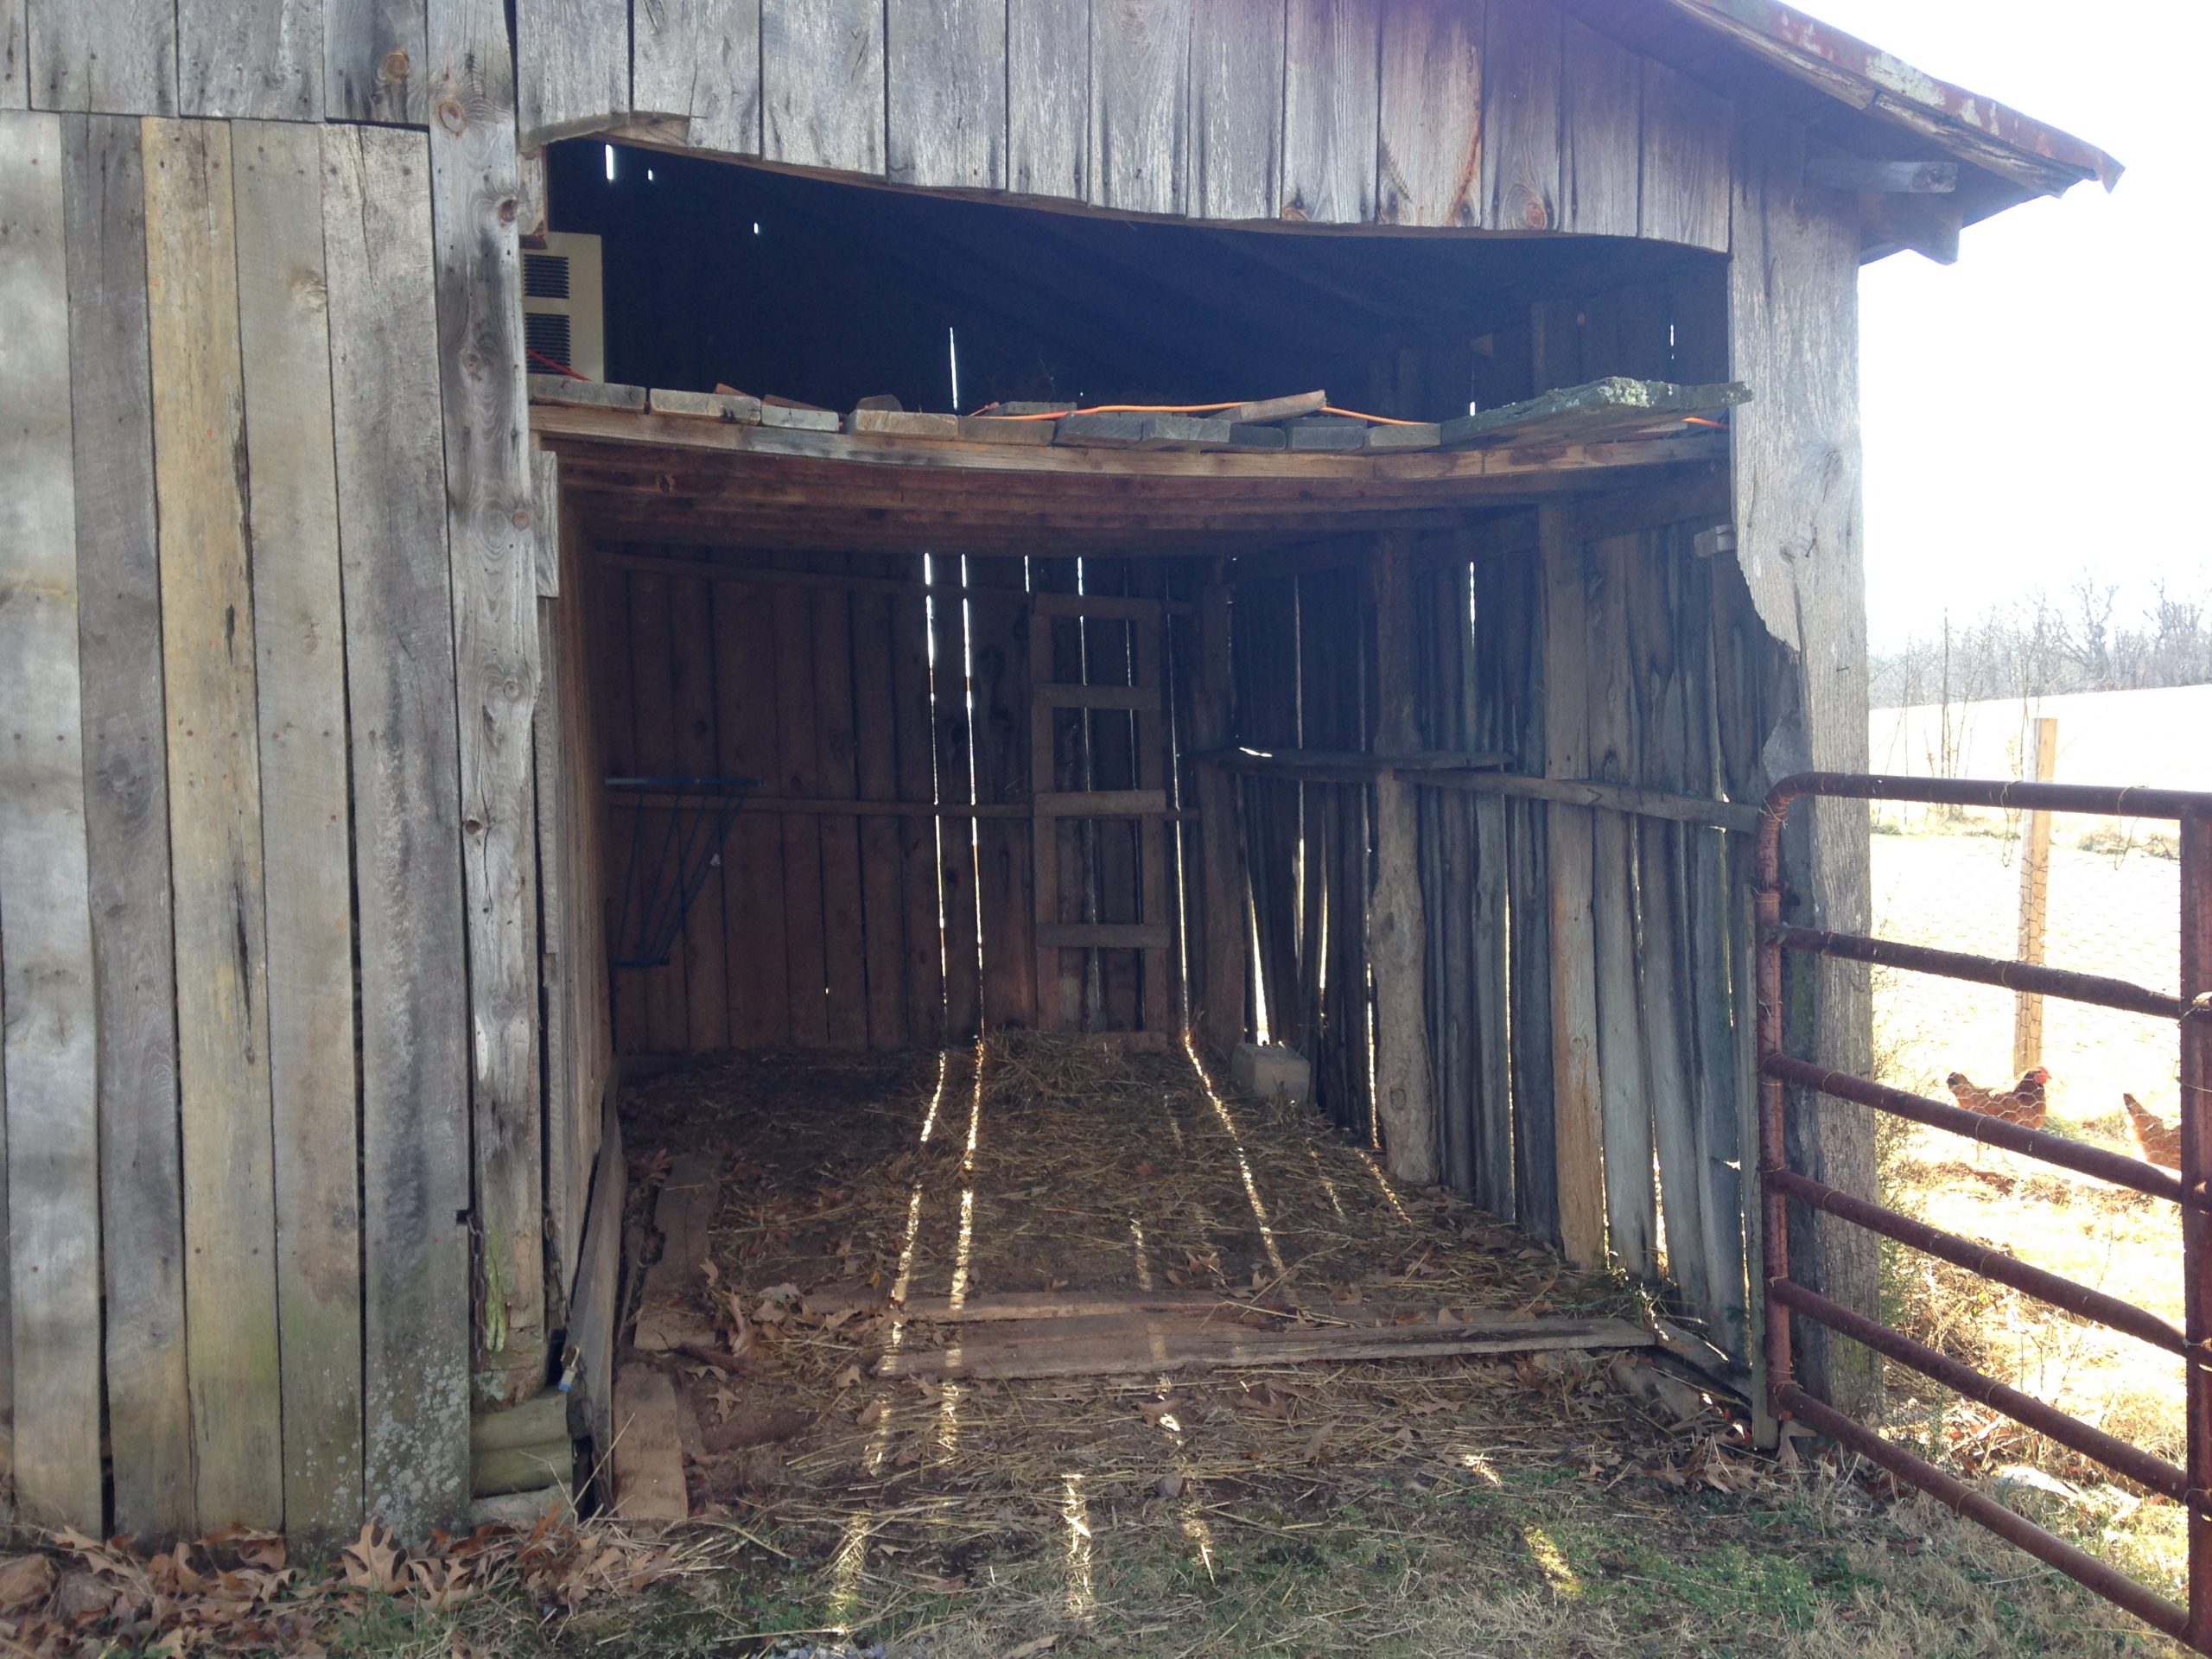
    old goat stall

    Now, let's dive into a little more detail on each of these activities so that you can get your homestead started in the Fall right.

    Fall Garden Crops

    A lot of garden crops are grown in spring in summer, like growing summer squash and growing cucumbers, there are also several crops to harvest in the Fall. For instance, pumpkins, peppers, tomatoes, cabbage and broccoli.

    Planting time for these veggies is earlier in the season, but harvesting and processing time runs into the Fall. One thing we love to make in late summer/early Fall is this salsa.

    Garden Clean Out

    Once the garden settles down, we let the chickens go into the garden and dig around. This lets them eat yummy leftovers as well as to eat any yucky bugs we don't want around next season.

    Chickens love to eat a plethora of fruits and veggies. Chickens can eat zucchini and chickens can eat watermelon, but be aware of tomato plants because chickens can eat some tomatos.

    Additionally, letting chickens into the garden helps to turn up the soil.

    Achieve your homestead goals with these easy goal setting and project planning workbooks.

    Goat Breeding

    Early Fall is perfect time to breed your goats. They typically start coming into strong heat during this time, so it is easy to get them bred. Also, it gets them ready to kid right in late winter/early spring.

    Building Projects

    Now that the weather is nicer (and before the cold of winter sets in), it's a good time to start some of the bigger outside projects that there haven't been time for during the heat of spring and summer.

    Think about getting chicken coops and chicken runs predator proofed, chicken runs patched up, stalls, fencing and other structures cleaned and fixed up as well.

    Basically, take advantage of the little more time you have have and the likely nicer weather and get things all set up and ready to go into the winter.

    Food Preservation

    Whether you fell a little behind during peak harvest time, have fall harvest crops still coming in, or found some great sales in the store, Fall is a great time for food preservation.

    Typically, there is a little less going on outside on the homestead at this time and getting food preserved and stocked up going into winter and the coming year is a great idea. Having a stock pile of preserved food is also a great way to save money on your homestead.

    One of the easiest things to do is freeze vegetables, fruits and anything else you want to preserve.

    If you found this helpful check out, The Fruitful Homesteader: A Goal Setting and Project Planning System so that you can get your homestead working for you.
    Click Here to Access the Planning System

    5 Essential Supplies for Milking a Goat (or Cow)

    By MrAnimal Farm

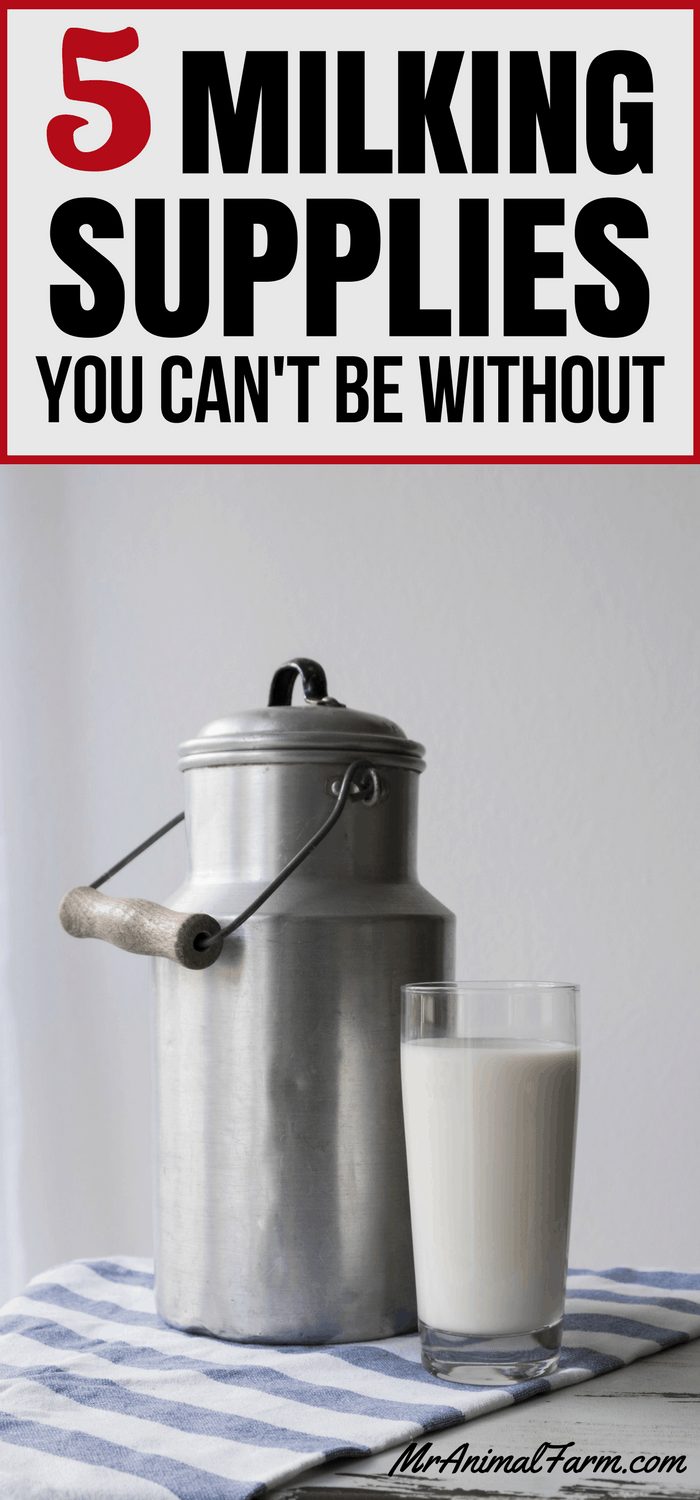
    Supplies for Milking a goat or cow

    Doing all your prep work for raising goats, you probably got your goat fencing and stall done.  You figured out what goat breed to get. You have your goat supplies, goat medical supplies, and goat kidding supplies. And now you have to get your goat milking supplies ready.

    Of course, don't forget that in addition to getting the right goat milking supplies, you will also need to learn how to milk your goat.

    Milking a goat may seem like there will be a lot involved, however there really is not too much to get. It is one of the more simple parts of herd management.  You can also get more elaborate with your milking supplies if you want and we will cover that below also.

    Goat milking supplies

    Your 7 main supplies for milking a goat are as follows:

    1. Stainless Steel Milk Bucket
    2. Gloves
    3. Udder Wipes
    4. Strainer
    5. Container
    6. Milk Stand
    7. (Optional) Milk Machine

    Keep reading below for the details on each item.

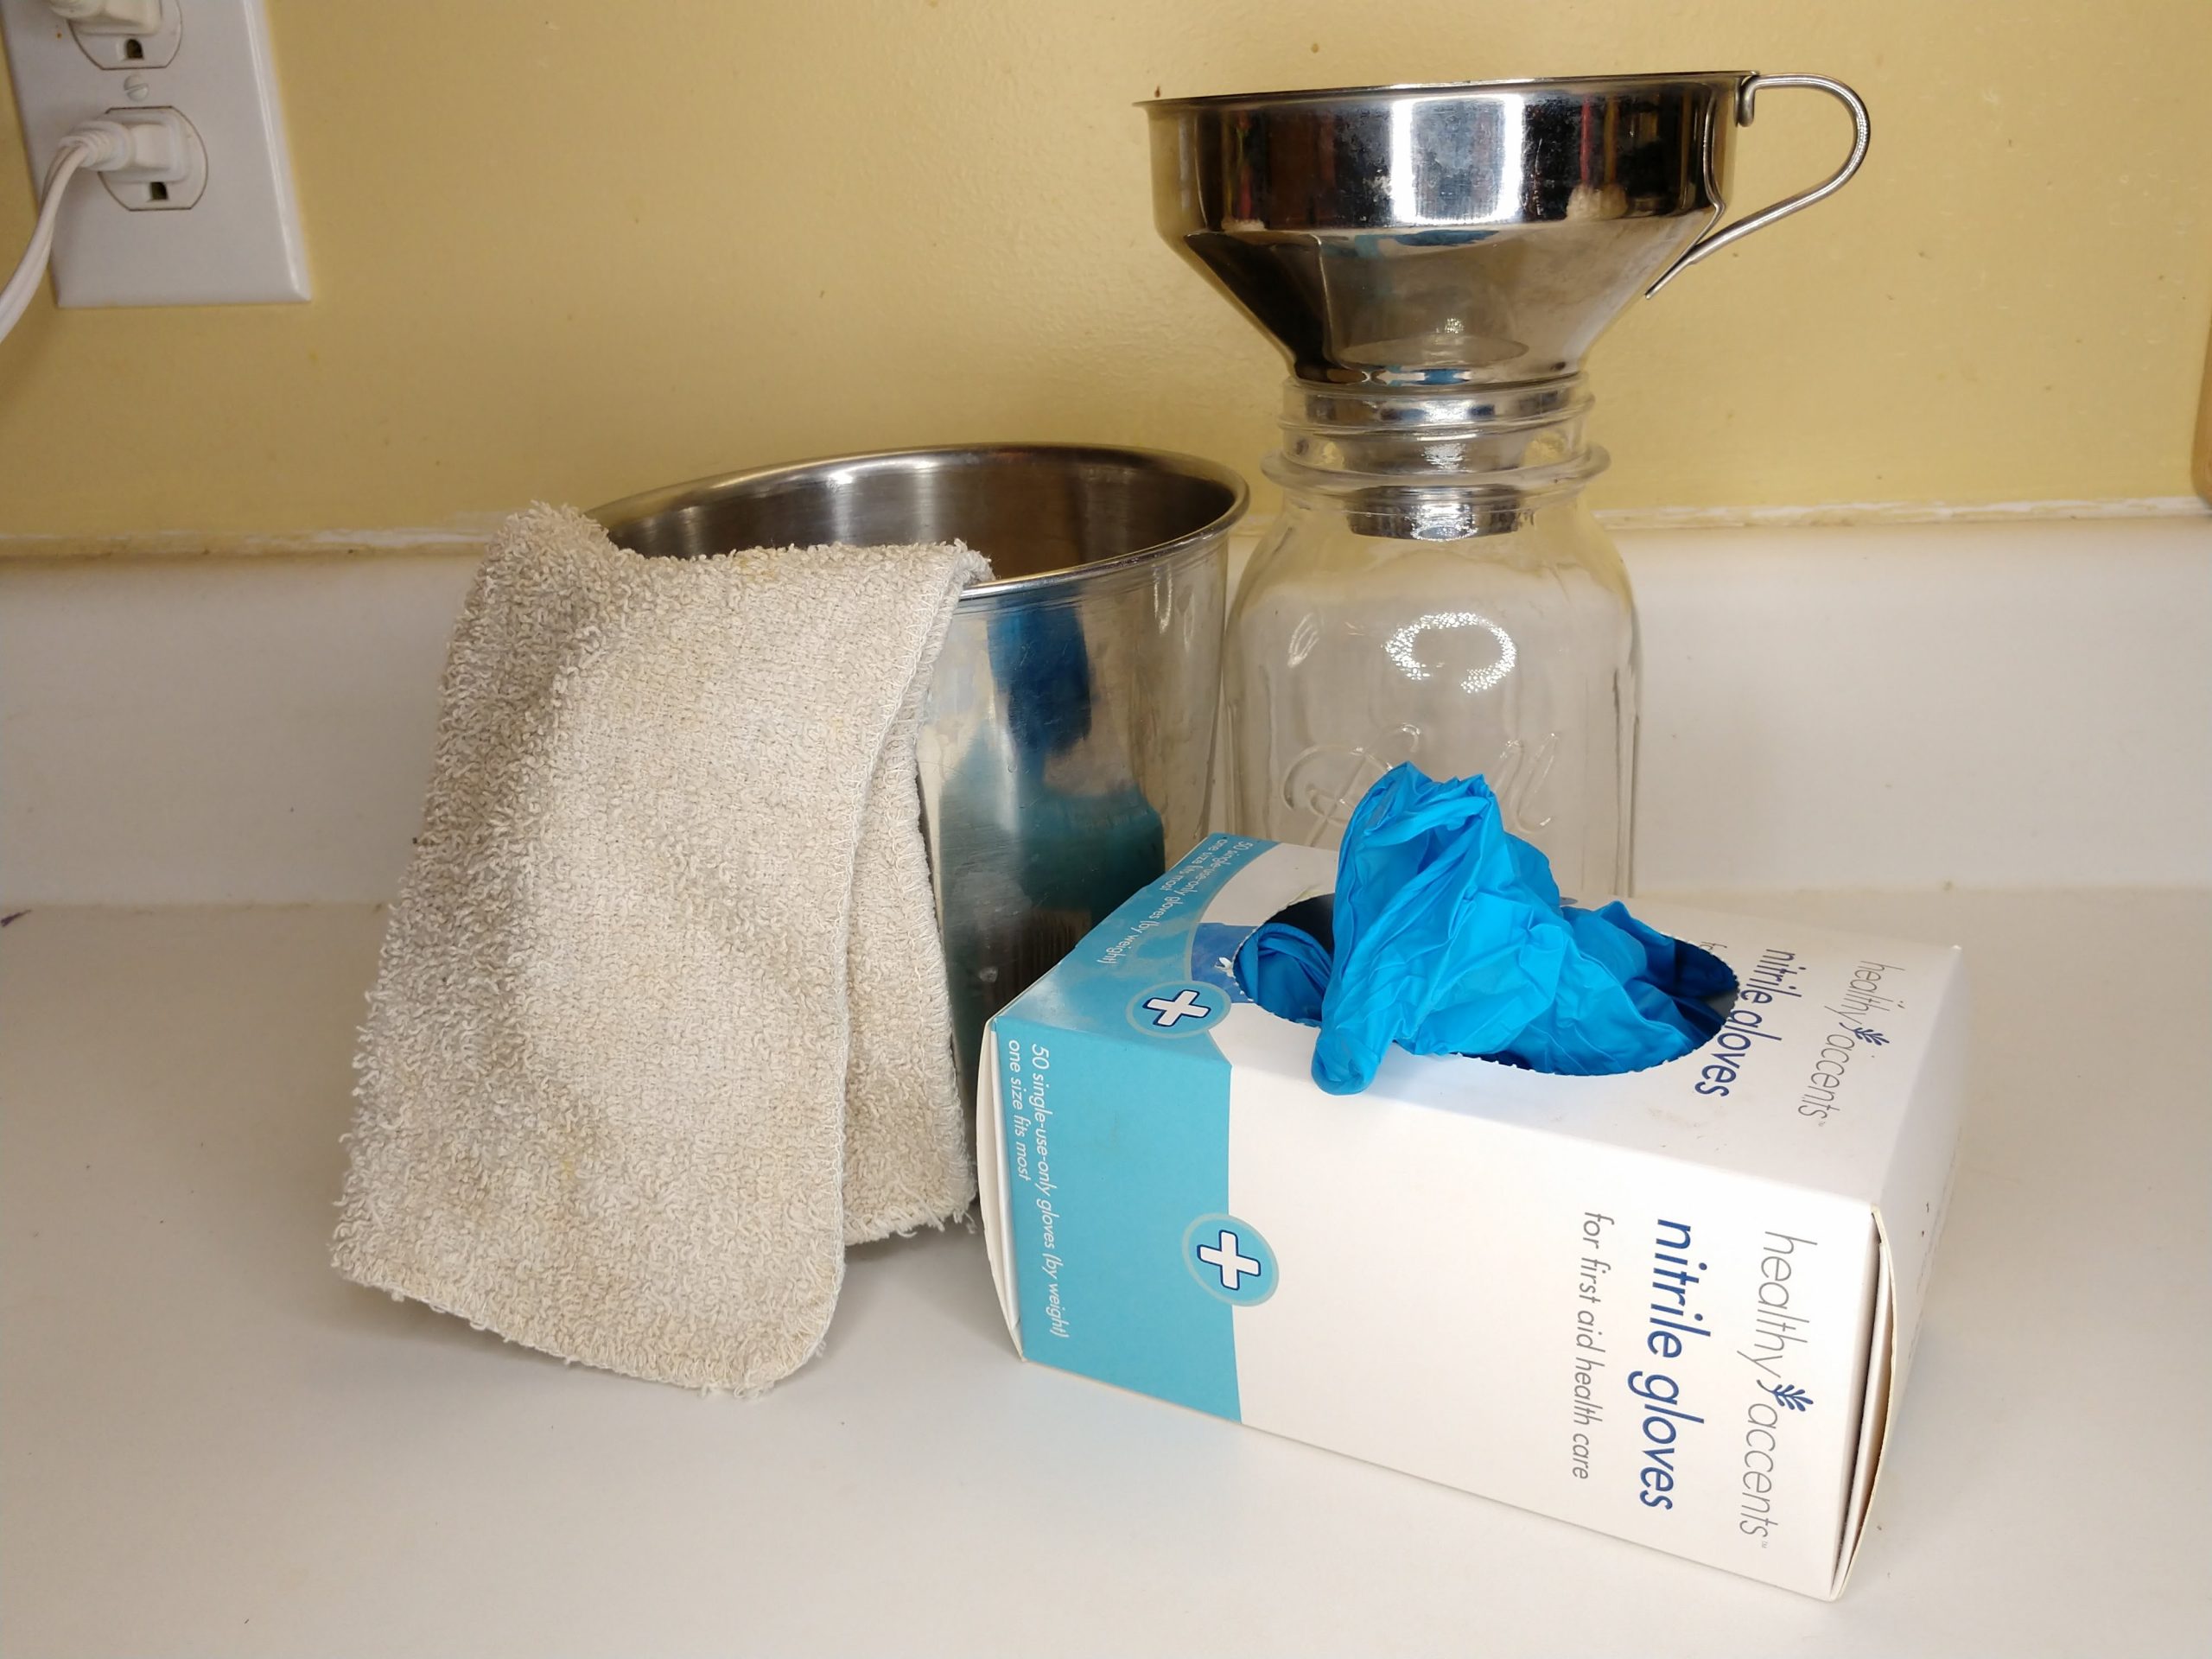
    milk pail, gloves, strainer, jar - goat milking supplies

    1)  Stainless Steel Milk Bucket

    This is perhaps one of the most important pieces of goat milking equipment.  You want a stainless steel milk bucket, not a plastic or glass or any other material type.

    Without a milking pail, you won't have anything to actually milk into.

    A stainless steel milk bucket is your best choice because they are easiest to keep clean.  It is, of course important to keep your goat milking supplies as clean as possible since they are handling your raw milk. Materials like plastic can hold in bacteria which you definitely don't want.

    stainless steel milk pail

    Stainless steel is non-pourous, so it is less likely than say plastic to harbor bacteria leftover from the milk residue.

    Since we have mini goats we went with a smaller 2 quart one.  Obviously if you are milking a cow or standard size goat you may want a larger capacity pail.

    2)  Latex or Nitrile gloves

    Gloves are one of the most simple and inexpensive goat milking supplies.  You can get these at your local grocery store.  You will want to wear gloves to cut down on germs from your hands to the milk.

    nitrile gloves

    You will also want to change your gloves between goats (if you are milking more than one) to cut down on germ transfer between udders.

    3)  Udder wipes

    These are a must have in your milking supplies.  You can get all kinds of fancy udder wipes.  We just use a good ol' fashioned washcloth that has been put in warm water (no one wants a cold rag on their udder!!).

    Whatever kind of udder wipe you choose, it will be an essential milking supply.  The reason to use udder wipes is to get debris off the udder so it doesn't go into your milk pail as well as to keep dirt and germs from getting into your goats teats.

    Need some help to keep your goats healthy and maintained? The G.O.A.T Herd Management Binder has you covered from supplies to routine care reminders.

    4)  Stainless Steel milk strainer

    There are lots of other fancy milk strainers out there to choose from.  Basically, you want the holes in the milk strainer to be small enough to catch any dirt/hair that may have made it into your milk.

    stainless steel strainer in quart jar

    Again, like with your stainless steel milk bucket, using a milk strainer made from stainless steel is the best choice.  It will help keep your milk the cleanest that it can be.

    We tried a few different strainers when we started and we like this milk strainer the best.

    5)  Container for milk

    Of course, you're goat milking supplies wouldn't be complete without something to hold the milk in when you are storing it in your fridge.  We use glass quart canning jars.

    They are just the right size, have easy screw on lids and are easy to wash in the dishwasher.

    6. Milk Stand

    A milk stand is essential if you will be milking your goats. And it can have multiple uses, it comes in handy for goat hoof trimming and other health checks also.

    Having a milk stand gives you a slightly elevated area to secure your goat to while you are milking. Having them raised up helps you get to their udder to milk. And, of course, some goats are super well behaved and will let you milk them anywhere you want. But, many need to be secured and distracted with a treat in order to hold still.

    7. (optional) Milk Machine

    Owning a milk machine is definitely a little bit of an initial monetary investment. However, if you have multiple goats to milk or if you have any physical restrictions, a milk machine is a great investment.

    Hand milking multiple goats can be time consuming and VERY labor intensive.

    Goat milkers are not an absolutely essential piece of goat milking equipment because you can do the job with just your hands.

    Goat milkers are not particularly cheap, so it will be something you need to weigh out.  The money spent versus the time savings that you might get by adding a goat milker can be worth it.

    If you've notice a decrease in your milk production, here are a few potential culprits to get your goat back on track.

    What do you consider your most important goat milking supplies?

    If you need more help keeping your goats healthy and well taken care of, check out the G.O.A.T. Herd Management System - worksheets, calculators, supply management and more to keep your goats in tip top shape while cutting down on time.

    Access the G.O.A.T. Herd Management System Here
    Supplies for Milking a goat or cow

    Raising Baby Chicks - A How-To Guide For Homesteaders

    By MrAnimal Farm

    raising baby chicks

    Ready to make the leap into the world of raising baby chicks? This can be quite intimidating at first, there are a lot of things to learn and the chicks depend on your knowledge and care to stay healthy and thrive.

    Some things you might be wondering are: what does daily care look like? How long do they need a heat lamp? What kind of feed do they need? This step by step guide has got you covered.

    Raising Baby Chicks successfully starts with having the correct supplies. A safe brooder, heat lamp, thermometer, and feed. You must keep their brooder temperature at 95 - 100 degrees their first week of life and decrease it 5 degrees every week after that. They also need fresh food and water daily and to be checked for any potential health issues.

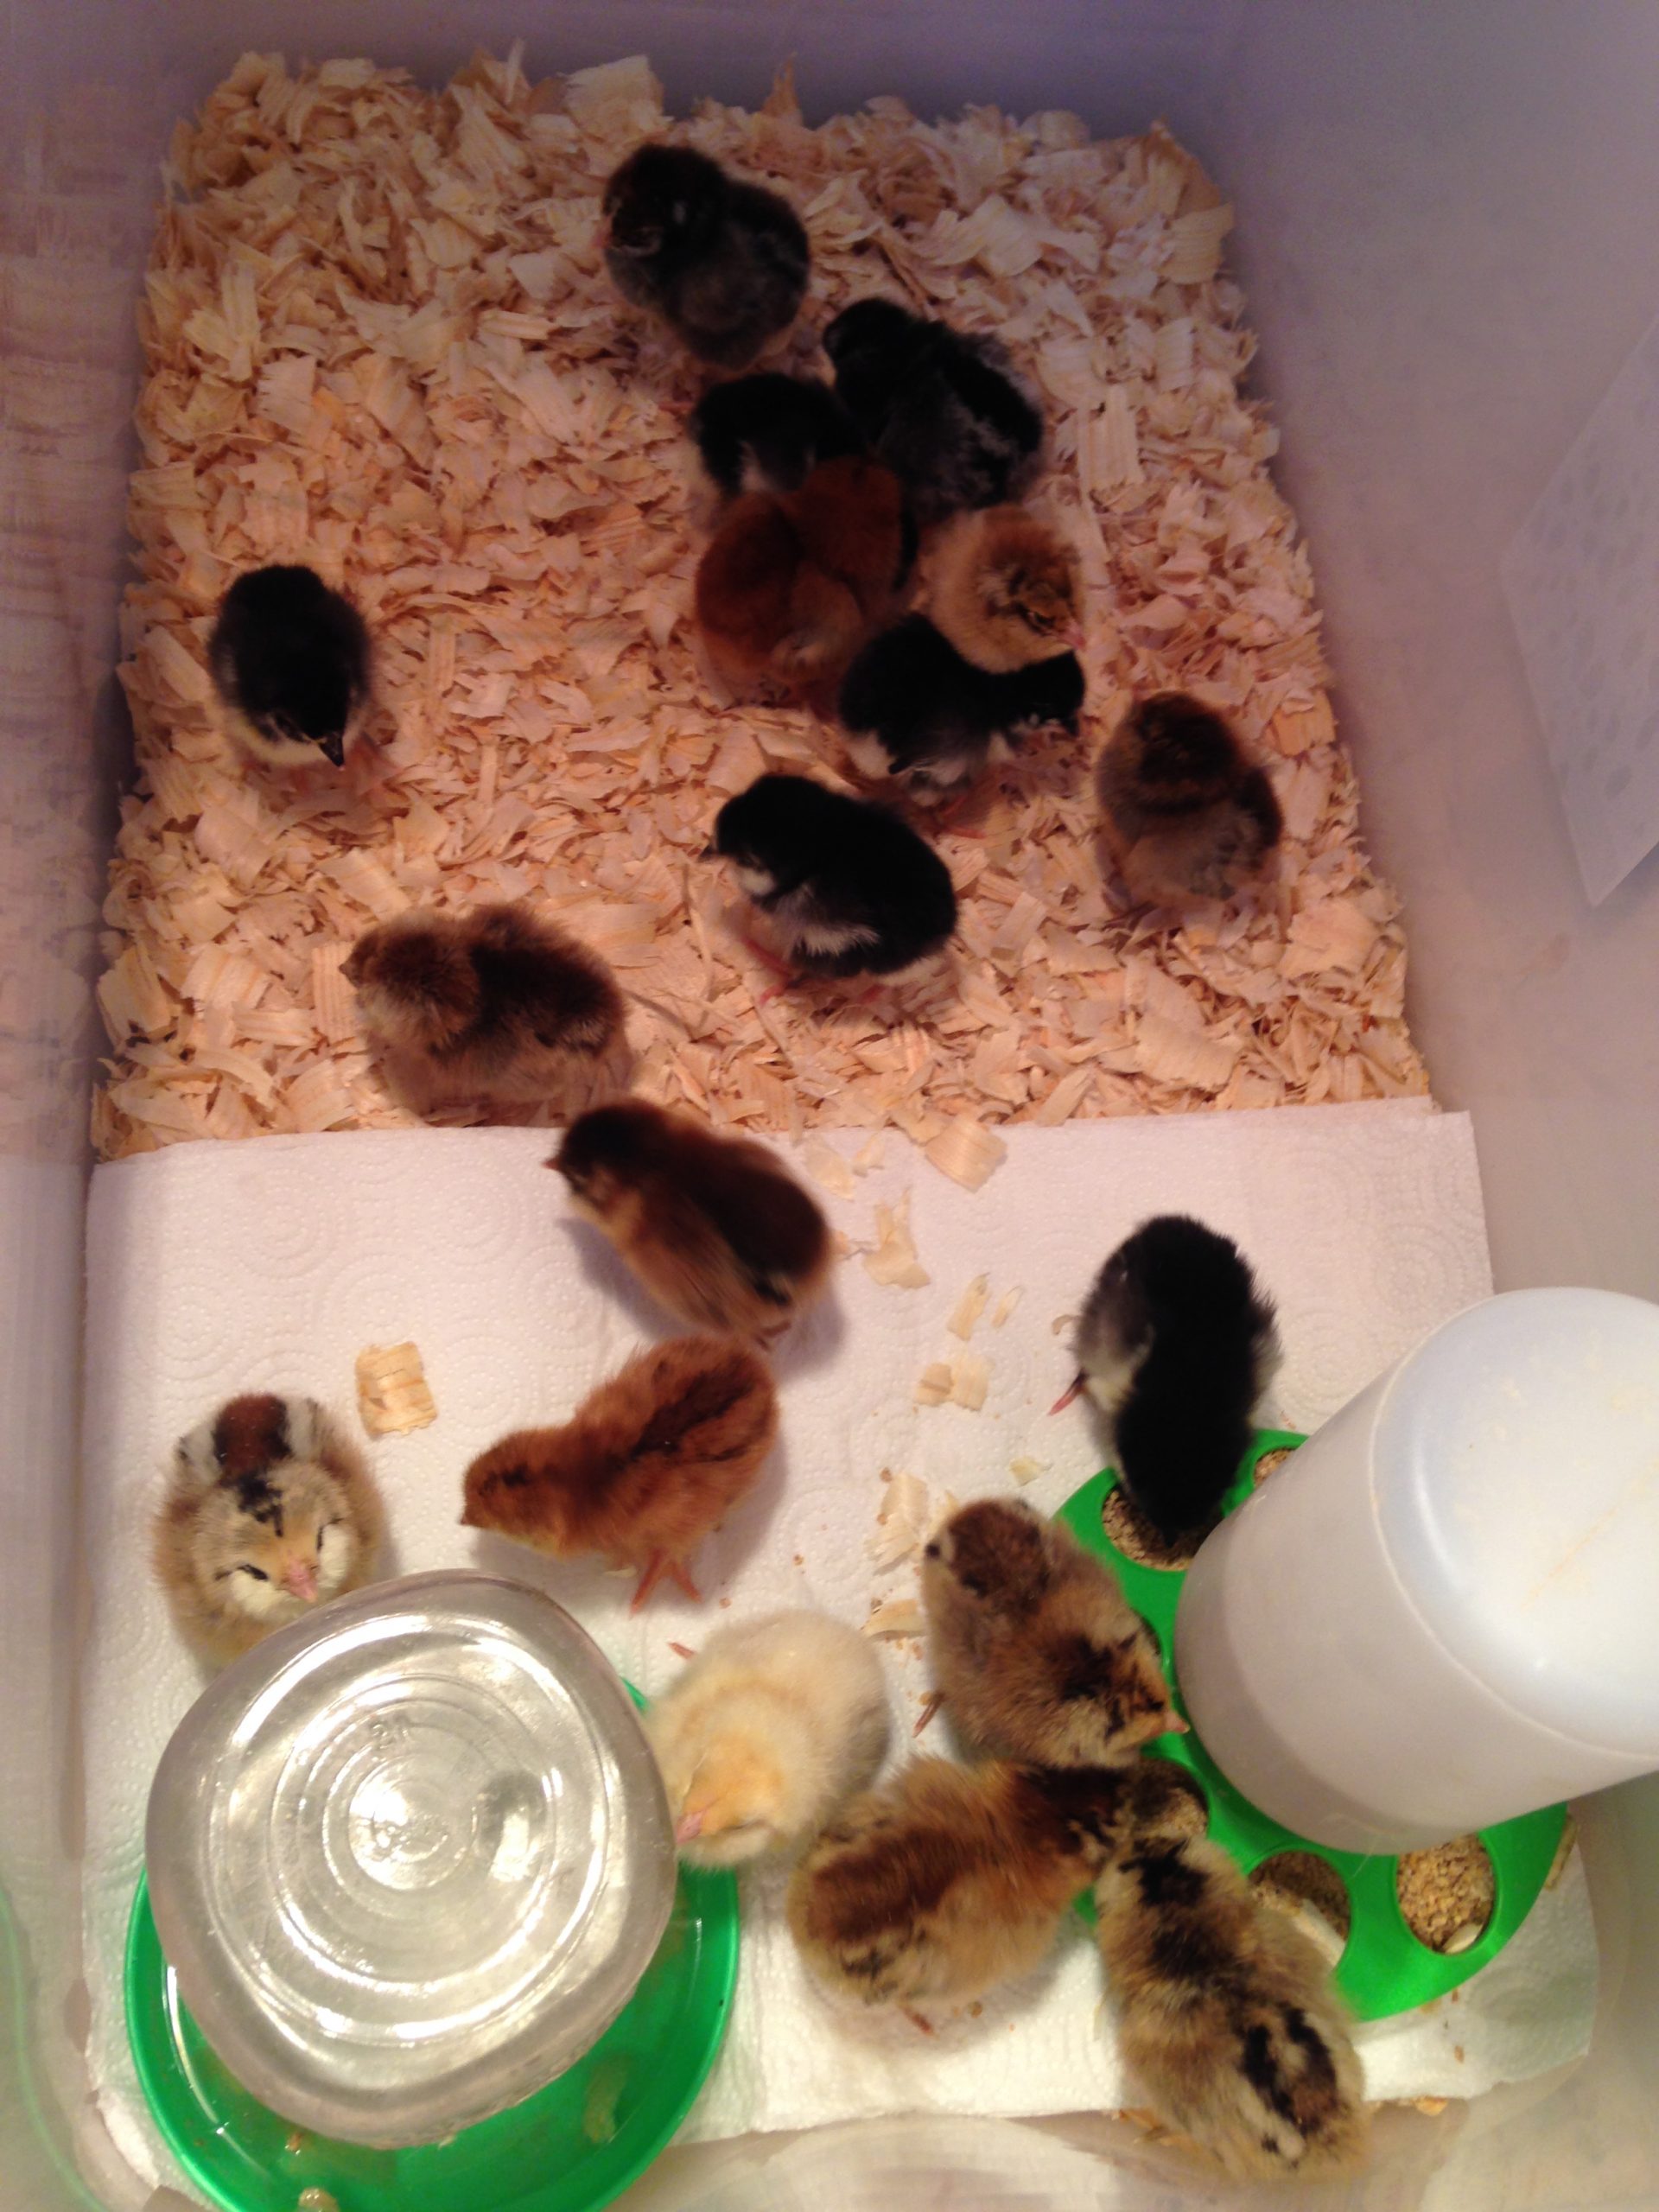
    raising baby chicks in brooder

    Want even more information? Check out Getting Started with Chickens eCourse for video tutorials to walk you through everything you need to know.

    Raising Baby Chicks

    Raising baby chicks is really not too hard.  Make sure that you know how long chickens live before committing to getting chicks. Also be sure that you can have chickens where you live and that you know how many and what types you are allowed.

    If you are new to chickens and need to know more about them, get familiar with chicken terminology.

    After you have those bases covered you can jump right in to getting started.

    Baby Chick Supplies

    Baby chick supplies are not too terribly complicated. And you can get most everything you need for a fairly reasonable price. Use the list below and you will be all set to start with your new chicks.

    1)  Brooder

    A brooder is essentially a box or enclosure of any type that is sufficient to keep the chicks in.

    Brooders can come in lots of shapes and sizes. You can get pre-made brooder which is super convenient as it is ready to go at purchase. However, you can't really adjust to what size or space you have available.

    You can use a big plastic tub. This is exactly what we use for small hatches. Or for the first week or so with large hatches before we move them to this DIY chicken brooder which is much larger.

    Big feed troughs also work well as brooders.

    2) Heat Source

    Chicks cannot maintain their own body heat when newly hatched. Therefore, they will need a heat source in order to stay warm and alive.

    The two main choices for heat sources are: a Heat Lamp (w/ bulb) or a heat plate like the Brinsea EcoGlow.

    Heat lamps, while necessary (unless you hatched chicks with a broody hen), are a major fire hazard. Always make sure it is completely secure and well attached.

    3)  Pine shavings

    You will need pine shavings to use as bedding for the brooder. Your chicks need a non-slick surface to walk and stand on. They also need something a little comfortable to lay and sleep in.

    It is important to use pine and not cedar shavings as cedar could be poisonous to chickens. There are some studies that show the aroma of the acids in cedar can damage their respiratory tract, but other evidence has shown it may not be too bad for them. Either way, better safe than sorry and just stick with using the proven pine ones.

    4)  Feeder and Waterer -- for chicks

    Your chicks will, of course, need a feeder and waterer. It is important to use the chick sized ones so that they can't fit in the feeder and get injured or get in the waterer and drown.

    Optional, but recommended: We always add these decorative stones to the waterer. It helps to ensure the water is not deep enough in any spots for the chicks to drown in. This is particularly helpful if you have bantam chicks which are even smaller than standard size ones and can drown more easily.

    5)  Food

    You'll of course need some food for your chicks. There are multiple different food choices available. The main thing that is important is to get chick starter feed. You don't want to get plain grower or layer feed because they have nutrients (such as calcium) in them that are not good for young chicks.

    Sometimes you will see chick feed listed as starter/grower feed and that is fine to use for young chicks. However, if it only says grower feed then that is not appropriate for very young chicks.

    The two main choices in starter feed are medicated chick feed and non-medicated chick feed. The medicated feed has, as you probably guessed, medication in it. The medication is for prevention and treatment of coccidiosis in chickens.

    Medicated vs non-medicated feed is a personal choice. We always use non-medicated as we try to raise our animals naturally whenever possible.

    6)  Thermometer

    Since you'll be adding supplemental heat for your chicks, you need a way to tell how warm their brooder is. To do this, add a thermometer. This flat thermometer is the one we use. It is accurate, doesn't take up much space and is easy to wipe off when the chicks inevitably poop on it.

    7) Chicks

    You'll also need chicks, duh! Make sure you decide what chicken breeds work for you. And then, you can decide where to get them from. You might be incubating chicken eggs, or buying day old chicks. No matter where you get them from, you'll need some.

    You should also decide if you want chicks that have been vaccinated for diseases such as Mareks or if you will learn how to vaccinate chicks yourself.

    Brooder Set Up:

    Once you have gathered your supplies you will want to get your brooder ready. Here are the step-by-step instructions to do so:

    1) Place Brooder

    The first thing you want to do is decide where you will be keeping your brooder. You will need an outlet for your heat source nearby. Also, as the chicks get older they will blow fluff everywhere, so near food or a common living area is not a great option.

    We usually keep our brooder in the shower of our second bathroom. Easy to clean up the dust and fluff. And there is an outlet and water source nearby also.

    You will also want to be sure that the room is climate controlled if possible. You will be adding a heat source, but if the room has large changes, it will be difficult to keep your brooder temperature correct.

    2) Add Bedding

    Next, you need to add the bedding to your brooder. To do this, you simply fill the bottom of the brooder with a few inches of the pine shavings.  

    3) Add Paper Towels (optional)

    Newly hatched chicks sometimes are so small they have difficulty walking on the pine shavings. So, we like to add a layer of paper towels on to of the pine for their first few days to first week until they get better on their feet.

    Make sure to use paper towels (which have a texture) and not anything like newspaper (which is too slick and can cause issues like splay leg).

    4) Fill up their food and water

    Add your chick feeders, filled with chick starter feed. And chick waterer filled with fresh water and decorative stones in the reservoir.

    You will want to make sure, especially the waterer, that these are both stable and not tipping over at all otherwise they may fall over and make a mess or crush chicks.

    5) Warm it up

    Once everything has been added, you will set up your heat lamp or your heat plate. Make sure to get the brooder warmed up to 95-100 degrees Fahrenheit.  Once the temperature is set up, you can add your chicks in.

    3 week old chicks in brooder

    Want even more information? Check out Getting Started with Chickens eCourse for video tutorials to walk you through everything you need to know.

    Baby Chick Daily Care

    The chicks do need some attention over the next 8 weeks or so until they are fully feathered and ready to go outside.  The following are the things you'll need to do to raise your new baby chicks.

    When you first add your chicks to the brooder, be sure to dip their beaks in the water and food so that they know when to find them.

    1)  Chick Brooder Temperature

    Newly hatched chicks are not able to maintain their own body temperature. Therefore, they needed added heat. As the chicks get older, they get better at regulating their temperature. Also, as the chicks get their adult feathers, their need for supplemental heat also decreases.

    Keeping a correct chick brooder temperature is essential to keeping your chicks healthy as if they get too hot or too cold it can cause severe health issues including death.

    You should keep a thermometer in your brooder to monitor the temperature. However, also be aware of your chicks behavior as a que to whether or not the temperature is where they need it.

    If chicks are panting, spread out, wings spread out then they are too hot and you need to lower the temperature. If the chicks are lethargic, head drooping and huddled together then then are too cold and you need to raise the temperature.

    Heat plates and heat bulbs do not have thermostats on them to adjust the temperature. In order to increase the brooder temperature, you need to lower the bulb or plate. In order to increase the brooder temperature, you need to raise the bulb or plate.

    Chick Temperature Chart

    Here are the general temperature guidelines week by week for baby chick care:

    Week/ageTemperature (in Fahrenheit)
    Week 195 degrees
    Week 290 degrees
    Week 385 degrees
    Week 480 degrees
    Week 575 degrees
    Week 670 degrees
    Week 765 degrees
    Week 8Move them outside as long as it is warm enough
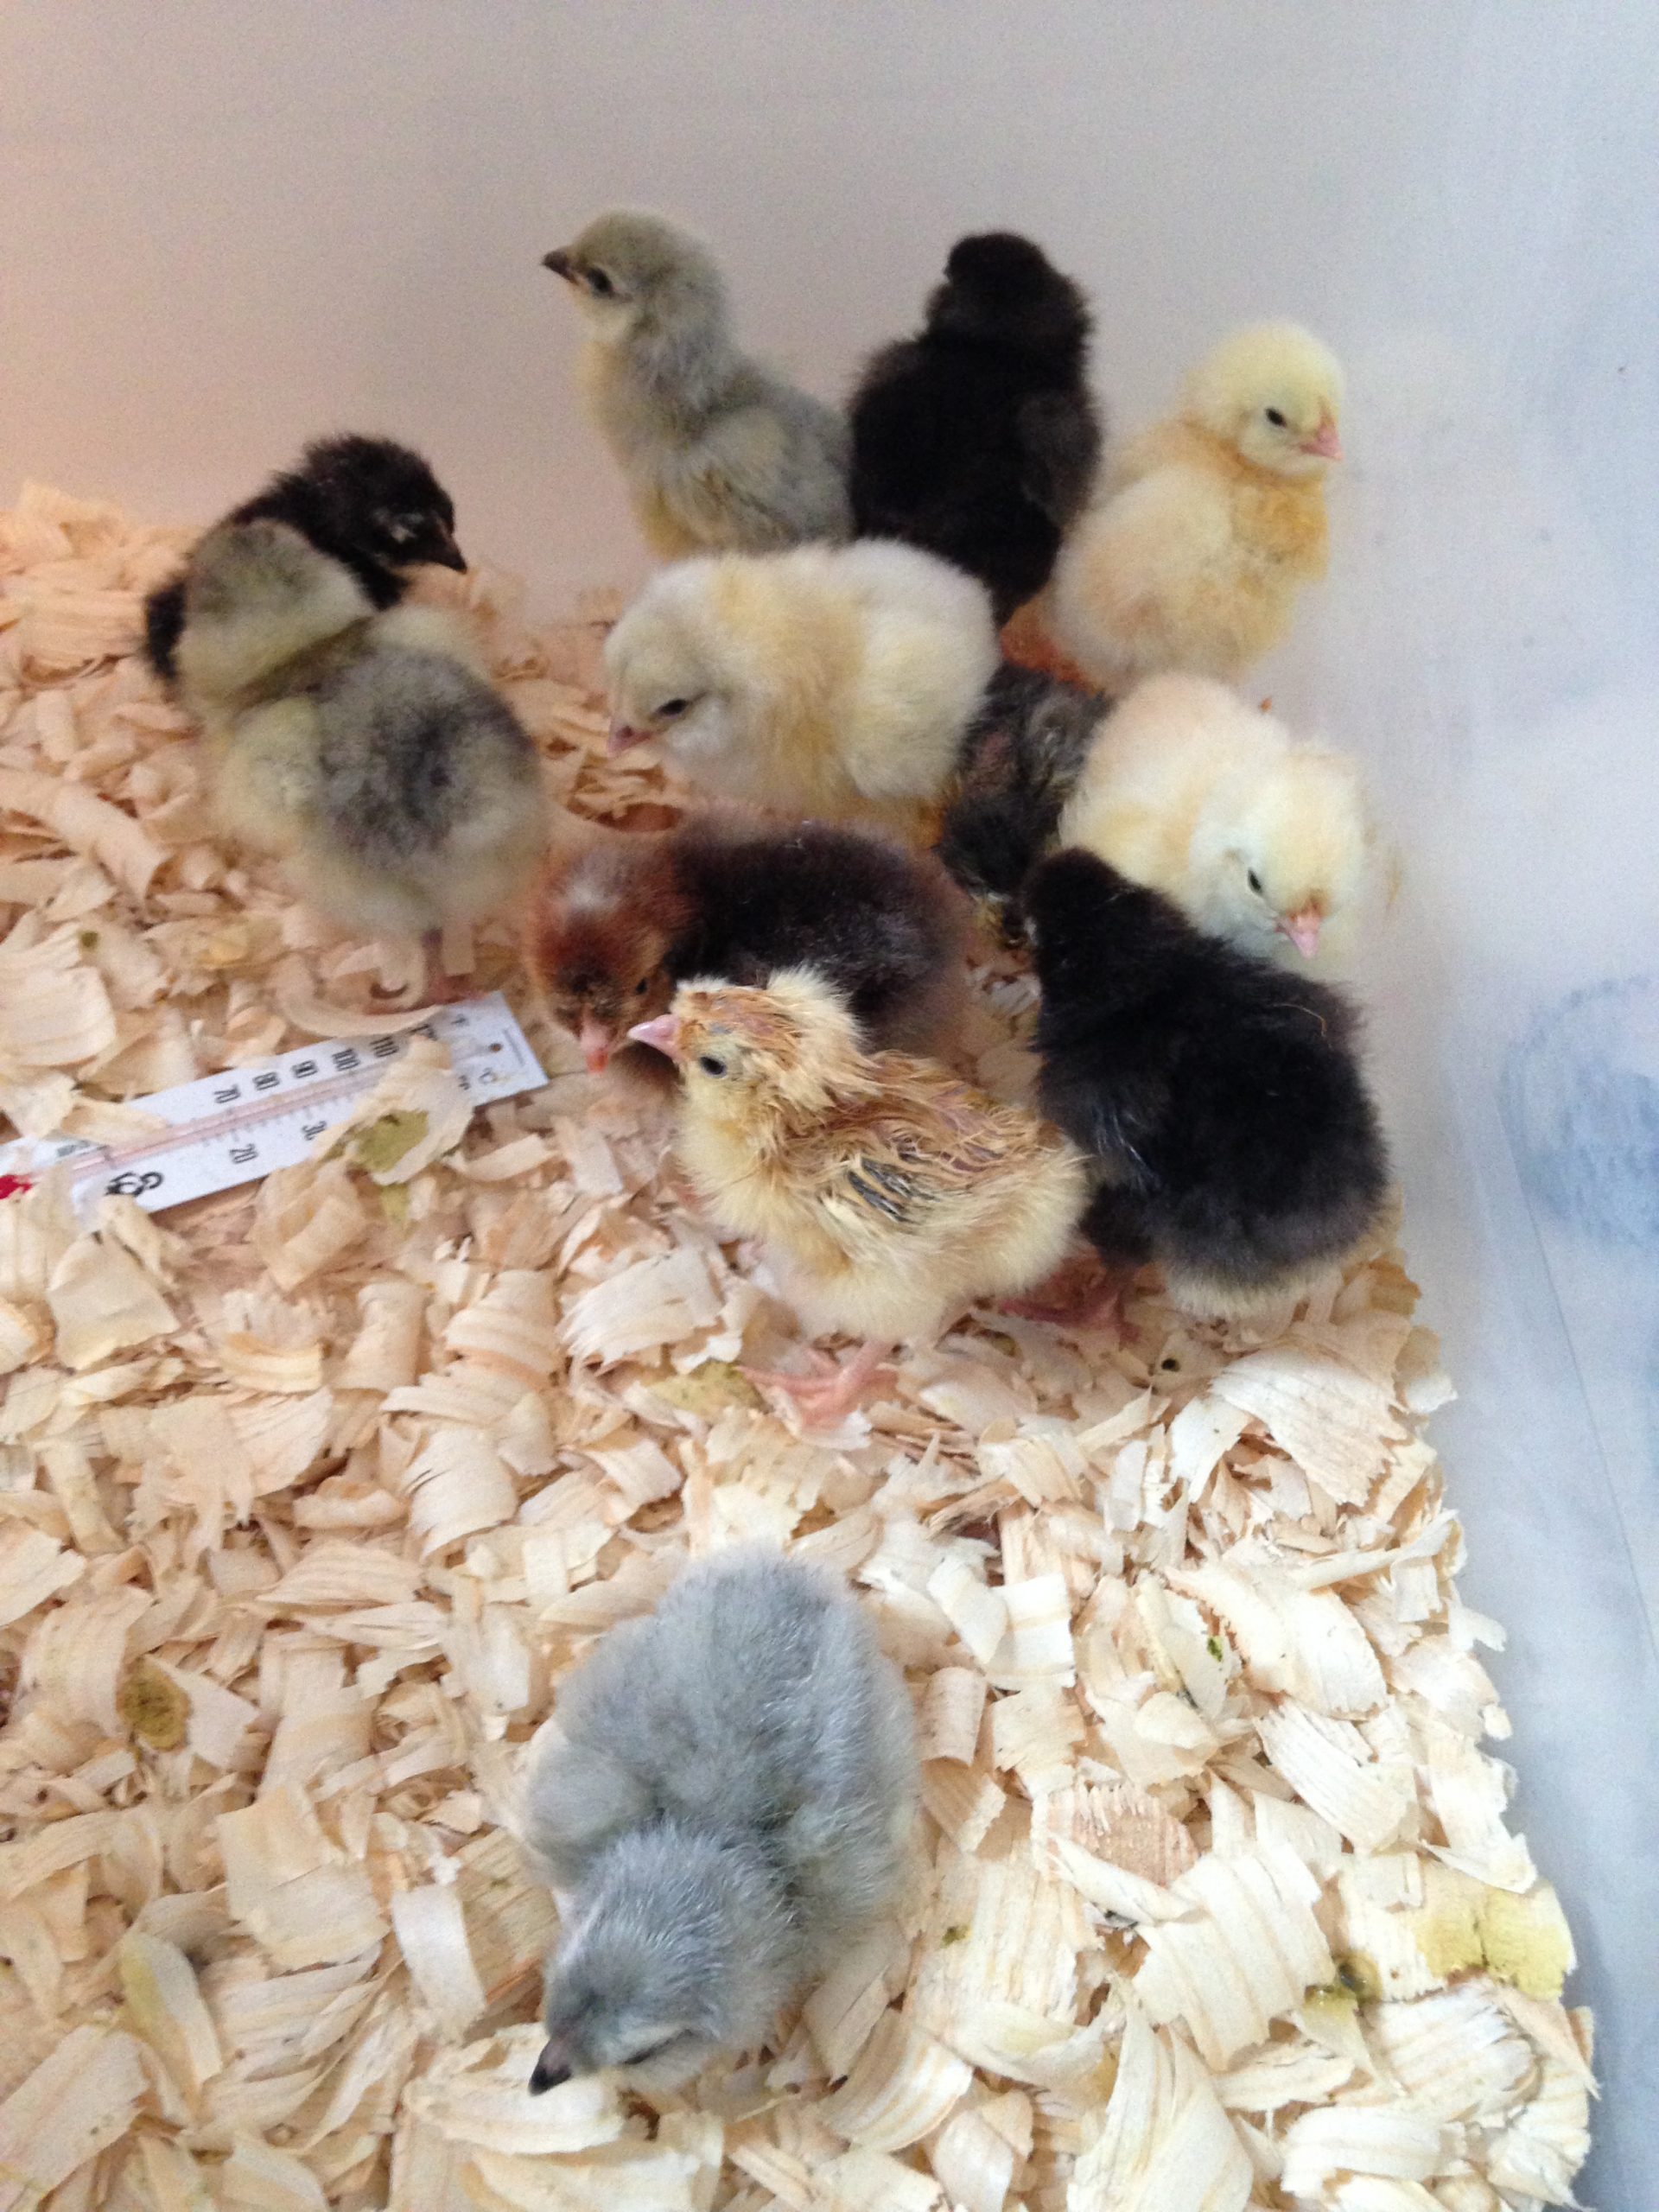
    1 week old chicks in brooder with thermometer

    2)  Food and Water

    Make sure both items are full and kept clean.  The bigger the chicks are the more mess they will make everywhere.

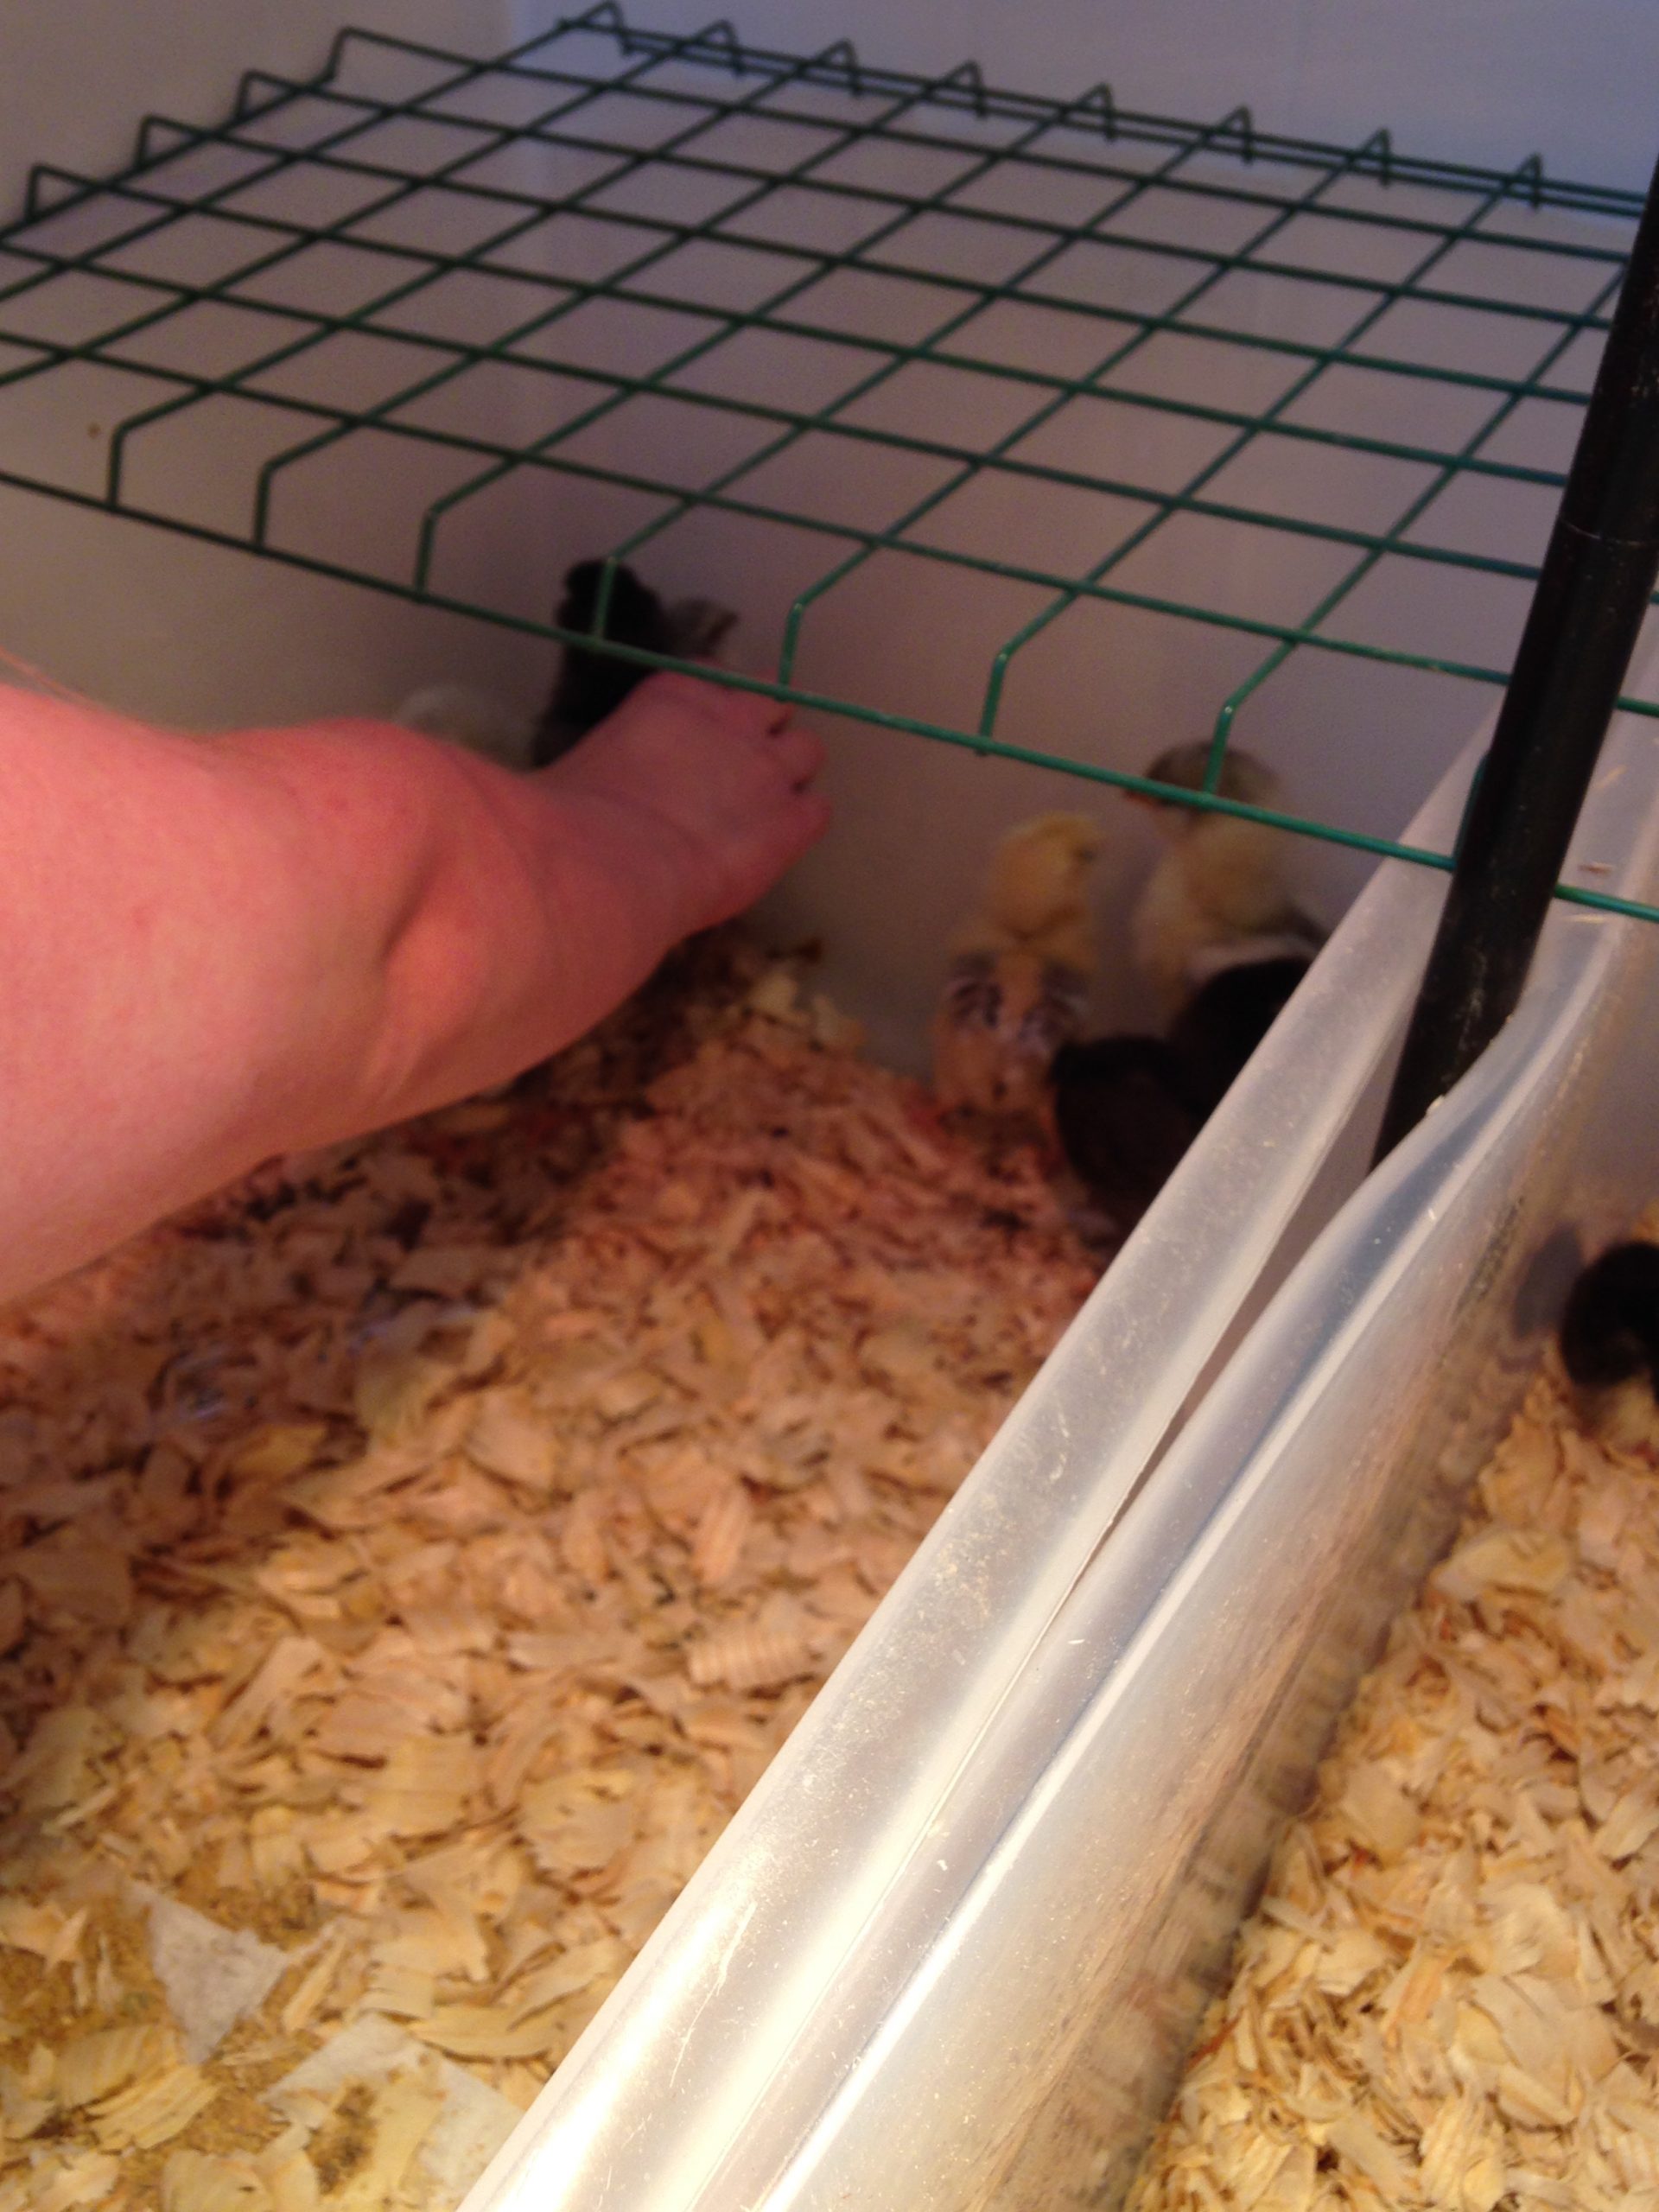
    Pro tip: Use a small metal grate or piece of wood to place the waterer on after the chicks are a week or so old. This will help keep them from knocking it over and also help keep it clean.

    3)  Clean brooder

    You will need to clean out the pine at least once a week.  If any water spills you will want to clean that out immediately to keep them dry and healthy.

    If you are raising a lot of baby chicks, you might want to consider making a more heavy duty brooder with these chick brooder plans.

    4) Health Issues

    You will also need to keep an eye on your chicks to make sure they are healthy.

    In general, healthy chicks are bright eyed, alert, active and not puffed up. Sick or struggling chicks can appear lethargic, droopy eyed (sleepy all the time), and have their feathers, wings and fluff puffed up.

    If any of your chicks is struggling, you might want to check for some of the following:

    • Coccidiosis - this is a common parasite that causes issues for young chicks. Lethargy and gross or bloody poop are some of the key signs of this issue.
    • Pasty butt - is when the chicks get their poop stuck over their vent.  It is not the most pleasant part of raising chicks, but you must keep them clean otherwise they won't be able to go to the bathroom and it can kill them.
    • Splay or Spraddle Leg - a condition that is essentially a slipped tendon in their leg/knee. They will look like they are doing a split. And will need their leg braced.
    • Curled Toes - is exactly what it sounds like. The chicks toes will be curled over and need help to straighten them out.
    • Lice and Mites - although less common - and shouldn't be an issue if you hatched them on your own and put them straight into a clean brooder. It is possible for chicks to get lice or mites if you get them from a place that has them.

    5) Moving outside

    Once your chicks are fully feathered and are off supplemental heat inside, they can be moved outside to the big coop and off heat. Make sure that the outside temperature is not too cold. You will want to take time and care if you are integrating new chickens into a flock.

    Baby Chick Care Week by Week

    Now that you know the general care that it takes to raise baby chicks, let's break it down week by week so that you know what to expect.

    1 Week Old Chicks

    From hatching to a week old, chicks are relatively simple to take care of. They are small, don't create much of a mess and aren't very active yet. In fact, when chicks hatch they absorb their yolk sac and do not need food or water for up to 72 hours.

    Though birth to week old chicks are easy to care for, they do need to be warm enough. That is the main concern at this age - ensuring they have a good brooder temperature of 95 degrees is essential.

    2 Week Old Chicks

    At two weeks old, chicks start to eat a little more. They also become more active. Both of these facts causes an increase in mess in their brooder. So, it is important to check regularly and ensure their space is clean.

    Additionally, at 1 - 2 weeks, chicks start to blow their fluff and start to get their feathers. As their feathers come in, you can lower brooder temperature to 90 degrees.

    3 Week Old Chicks

    At 3 weeks old, chicks really start to grow quickly, seemingly changing every day. They get more and more feathers which decreases their need for heat a little. You can adjust the heat in the brooder to 85 degrees.

    You may also want to add a perch of some type into their brooder at this point for them to start to learn how to roost on.

    4 Week Old Chicks

    4 week old chicks are almost fully feathered at this point. You can knock the chick brooder temperature down another 5 degrees to 80 degrees at this stage.

    I find at this age they start getting even more active and often times need a lot more clean up - they may start knocking water and food over occasionally.

    5 Week Old & 6 Week Old Chicks

    5 - 6 week old chicks are usually fully feathered. So you can take them to 75 degrees at 5 weeks and 70 degrees at 6 weeks. Depending on where you live and the time of year, this may mean that you can remove the heat lamp and/or even start letting them have supervised time outside.

    7 Week Old & 8 Week Old Chicks

    7 - 8 week old chicks start to look like miniature adult chickens. If you have certain breeds like Marans, you may even start to tell if you have a hen or rooster based on comb development at this age.

    At this age, they will start eating quite a lot and will need feed and water watched twice daily to ensure they are filled and clean.

    Also at this point, outside temperature permitting, you can start thinking about integrating the chicks with your existing flock.

    FAQ

    How long do baby chicks need a heat lamp?

    Baby chicks typically need a heat lamp until they are about 8 weeks old and fully feathered. If they are in a climate controlled room inside, then they may be able to come off of heat a little earlier than 8 weeks.

    When can baby chicks go outside to play?

    Baby chicks can go outside to play for small periods of time, under supervision and if the temperature is warm enough when they are a few weeks old.

    How do you know if a chick is male or female?

    It can be extremely difficult to tell if a chicks is a male or female. A few ways to sex a chicken are: vent sexing, wing sexing, and coloration for autosexing breeds.

    Why do baby chicks suddenly die?

    Coccidiosis is one of the most common reasons that baby chicks suddenly die. However, chicks can die from a variety of different reasons from temperature issues in the brooder to pasty butt to genetic issues.

    Do baby chicks sleep a lot?

    Yes, baby chicks do sleep a lot. Especially week old chicks will sleep a lot. As they grow older, week by week, they will sleep less and be more active. Even though they do sleep a lot, they should also have active time periods. If your chicks don't seem to be active at all, there may be issues with your brooder temperature or their overall health.

    Do baby chicks need light at night?

    No, baby chicks do not need a light at night. They need to be able to sleep and have a regular sleep cycle. However, they do still need heat at night, so they will have the heat lamp on at night for their first few weeks.

    If you need more help with taking care of your chickens, check out The Organized Chicken Keeper for a complete system for managing their health through keeping their supplies stocked and coop clean.

    Access The Organized Chicken Keeper Here
    pinterest pin for raising baby chicks

    Create A Predator Proof Chicken Coop & Run

    By MrAnimal Farm

    How to Predator Proof Chicken Run

    When you are raising chickens, one of the main concerns is  keeping your chickens healthy.  Of course, one key point in that is keeping them safe from potential predators.  In order to do this, you need to know exactly how to create a predator proof chicken coop and run.

    13 Ways to Predator Proof Your Chicken Coop and Run

    1. Livestock Guard Dogs
    2. Keep Roosters
    3. Lock Them up at Night
    4. Encourage Crows
    5. Keep Eggs & Feed Cleaned Up
    6. Electric Fencing
    7. Hiding Spots
    8. Raised Coop
    9. Solid Floor
    10.  Hardware Cloth Apron
    11. Secure Windows
    12. Top on Chicken Run
    13. Apron on Chicken Run
    chicken coop in a field

    If you implement several (or even all) of these 13 tips, you are well on your way to a very secure chicken area that will significantly help to keep your flock more secure.

    To learn all the details about each of these steps, keep reading for more.

    General Ways To keep Your Chickens Safe

    In addition to specific features or changes you can add to your chicken coop or chicken run, there are also several things you can do with your flock, in general, that will help keep them safe from predators.

    Livestock Guard Dogs

    Livestock Guard Dogs like Karakachans and Great Pyrenees are dogs that are specifically bred to protect livestock and chickens.  While they do need some serious training efforts when they are young, a well trained livestock guard dog can make a huge difference for your chickens.

    Our dogs have chased off a huge range of animals from fox to bears to hawks.  In fact, the mere presence of these dogs can often times keep predators away from your general area.

    Keep Roosters

    While roosters may not be as large and impactful as livestock guard dogs, they do certainly add some predator proofing for your chickens.  Roosters will usually do their best to fend off predators that try to come into their area. So even though roosters don't lay eggs, you may want them for other reasons.

    Depending on the predator, a rooster may not be enough.  However, we have had roosters fight hard to keep their hens protected. And, sometimes this is enough to chase the predators away.  Having roosters around also can help alert you to any potential danger since they will make a racket when something of danger comes into their area.

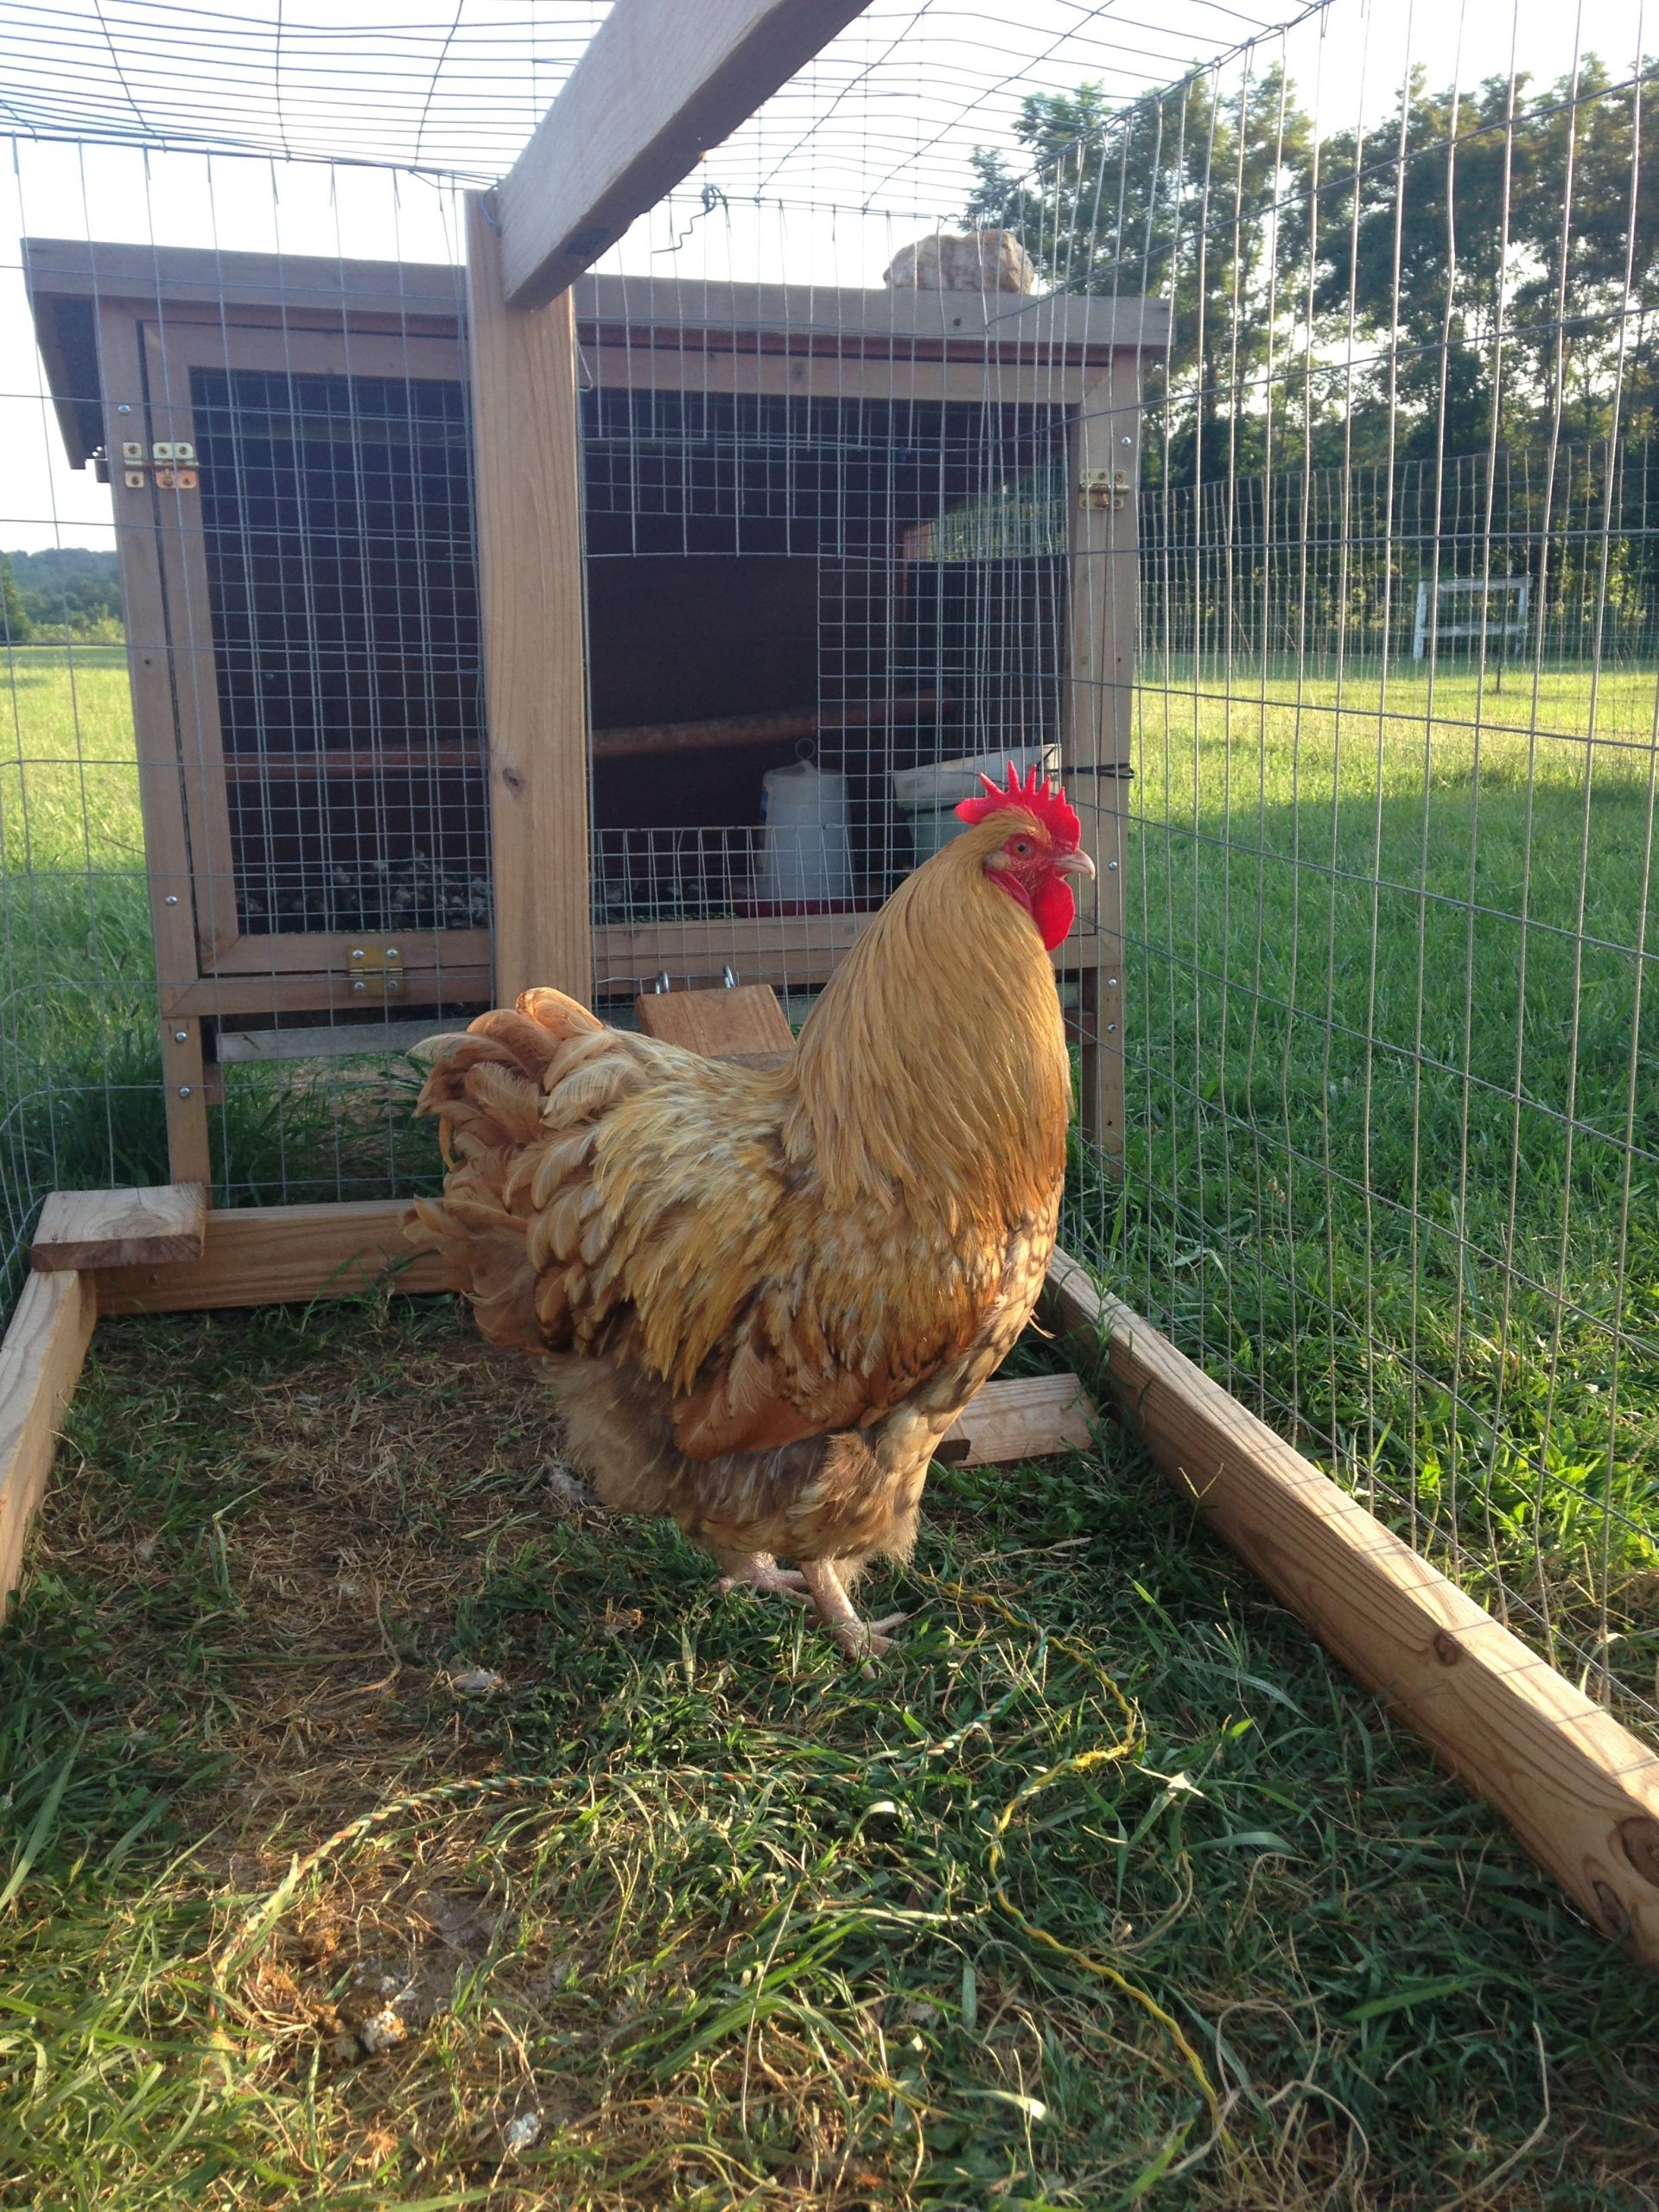
    rooster in a chicken run

    Lock them up at night

    Whether you keep your chickens confined to a run or let them free range, you should lock them in their coop at night.  Chickens will typically put themselves up into their coop around sunset anyway, but if you leave the windows and doors wide open it is an open invitation to predators.

    So, make sure every night around sunset that you head out to your coop and lock things down.

    Encourage Crows

    Crows actually do not like hawks.  We have experienced this first hand, in fact.  We have a few crows every year that nest in some large pine trees at the edge of our property.  These crows are NOT happy if hawks every come around.  Hawks will steal crows eggs and chicks so crows will do whatever it takes to keep them out of their area.

    This, of course, greatly benefits chickens because they can help keep hawks away.  But, also, crows are very unlikely to prey on chickens or chicks themselves, so having them around is not typically a threat to your chickens.

    Keeps Eggs & Feed Cleaned Up

    One surefire way to encourage predators to come around and bother your chickens is by leaving potential food around for them.  This can be eggs or chicken feed.

    So, be sure to collect all eggs regularly and also do not leave feed out overnight if possible.  We like to ferment chicken feed which also means that there isn’t feed left sitting out between feedings which is a bonus benefit.

    Electric Fence

    While electric fencing may not be a solve for all potential predators, it is one way to predator proof against some of the larger predators that might go after your chickens.

    Electric fencing can be pretty easy to set up and it is not terribly expensive.  So, it might be a good add especially if you have a heavy predator load in your area.

    Places to Hide if free range

    If you free range your chickens, you might want to ensure that your chickens have plenty of places to hide if need be.  This is particularly useful if you have hawks around, since your chickens can have a place to run and duck under or into if they have something coming down from above.

    Predator Proof Your Chicken Coop

    Now that you know some of the main things you can do to keep your flock safe from predators in general, let’s review how to predator proof your chicken coop specifically.

    Chicken coop plans come in all types of sizes and designs.  Frankly, you can be as creative as you want when it comes to your coop.  But, you should be adding in the following features to help keep your chicken coop predator proofed.

    These specifications are best used to help protect against predators like coyotes, raccoons, possums and fox.

    Protect from digging

    Many of the predator types just mentioned above will actively try to get into your coops for an easy snack, especially at night. So, it is really important to ensure that they cannot just dig underneath the coop and grab your chickens.

    And trust me, they WILL try to dig in to grab them if they can.

    • Raised coop - Keep your coop raised up off the ground.  It doesn’t need to be super high off the ground.  However, just raised enough that a predator cannot dig under and straight grab your chickens.
    • Solid Floor - Make sure that your coop has a solid floor.  You don’t want the floor of their coop to be any kind of wire (which predators WILL try to pull your chickens through.  You also don’t want your coop floor to just be on the ground.
    • Hardware Cloth apron - We use either chicken wire or hardware cloth and make an apron from the bottom of the coop into the ground.  First, dig a trench around the coop about 6 inches down and about a foot out.  Then, simply tack the wire up onto the bottom part of the coop a few inches up and then lay it down into your trench and bury it with dirt.  This will help deter digging as predators will start digging, hit the fencing and often times give up.

    Secure Windows

    If you are going to be locking your chickens up at night, you want to make sure that the windows in your chicken coop are good and secure so that no predators can sneak in that way.  The best way to do this is to have windows that actually just close and latch.

    However, you can also add hardware cloth or a double layer of chicken wire over windows to help keep predators from climbing through them.  You can add the wire in addition to a window that closes or instead of it.

    Predator Proof Your Chicken Run

    Now that you have a safe, secure, predator proof chicken coop, let’s make sure that you also have a predator proof chicken run.

    High Chicken Wire

    There are several different ways to make a chicken run, you can have one that is relatively small and moveable and attaches to your coop.  Or you can have a large, permanent area.  If you have a larger permanent area, you should use 5 or 6 feet tall chicken wire for the sides of the run.  

    While a really motivated predator can probably climb this or break through it if they REALLY wanted to, it can definitely help provide some protection.  In fact, before we started free ranging our flock, we had a large enclosed run area like this and had coyotes come around a few times and pace the outside, but eventually gave up since they couldn’t find an easy way in.

    Put a top on it

    If you want to avoid overhead chicken predators like hawks as well as climbers like raccoons, but a top on your run.  By putting a section of chicken wire or hardware cloth (even bird netting can work if you are just protecting from birds) on the top of your run area, it will help keep anything from coming in from the top of your run fencing.

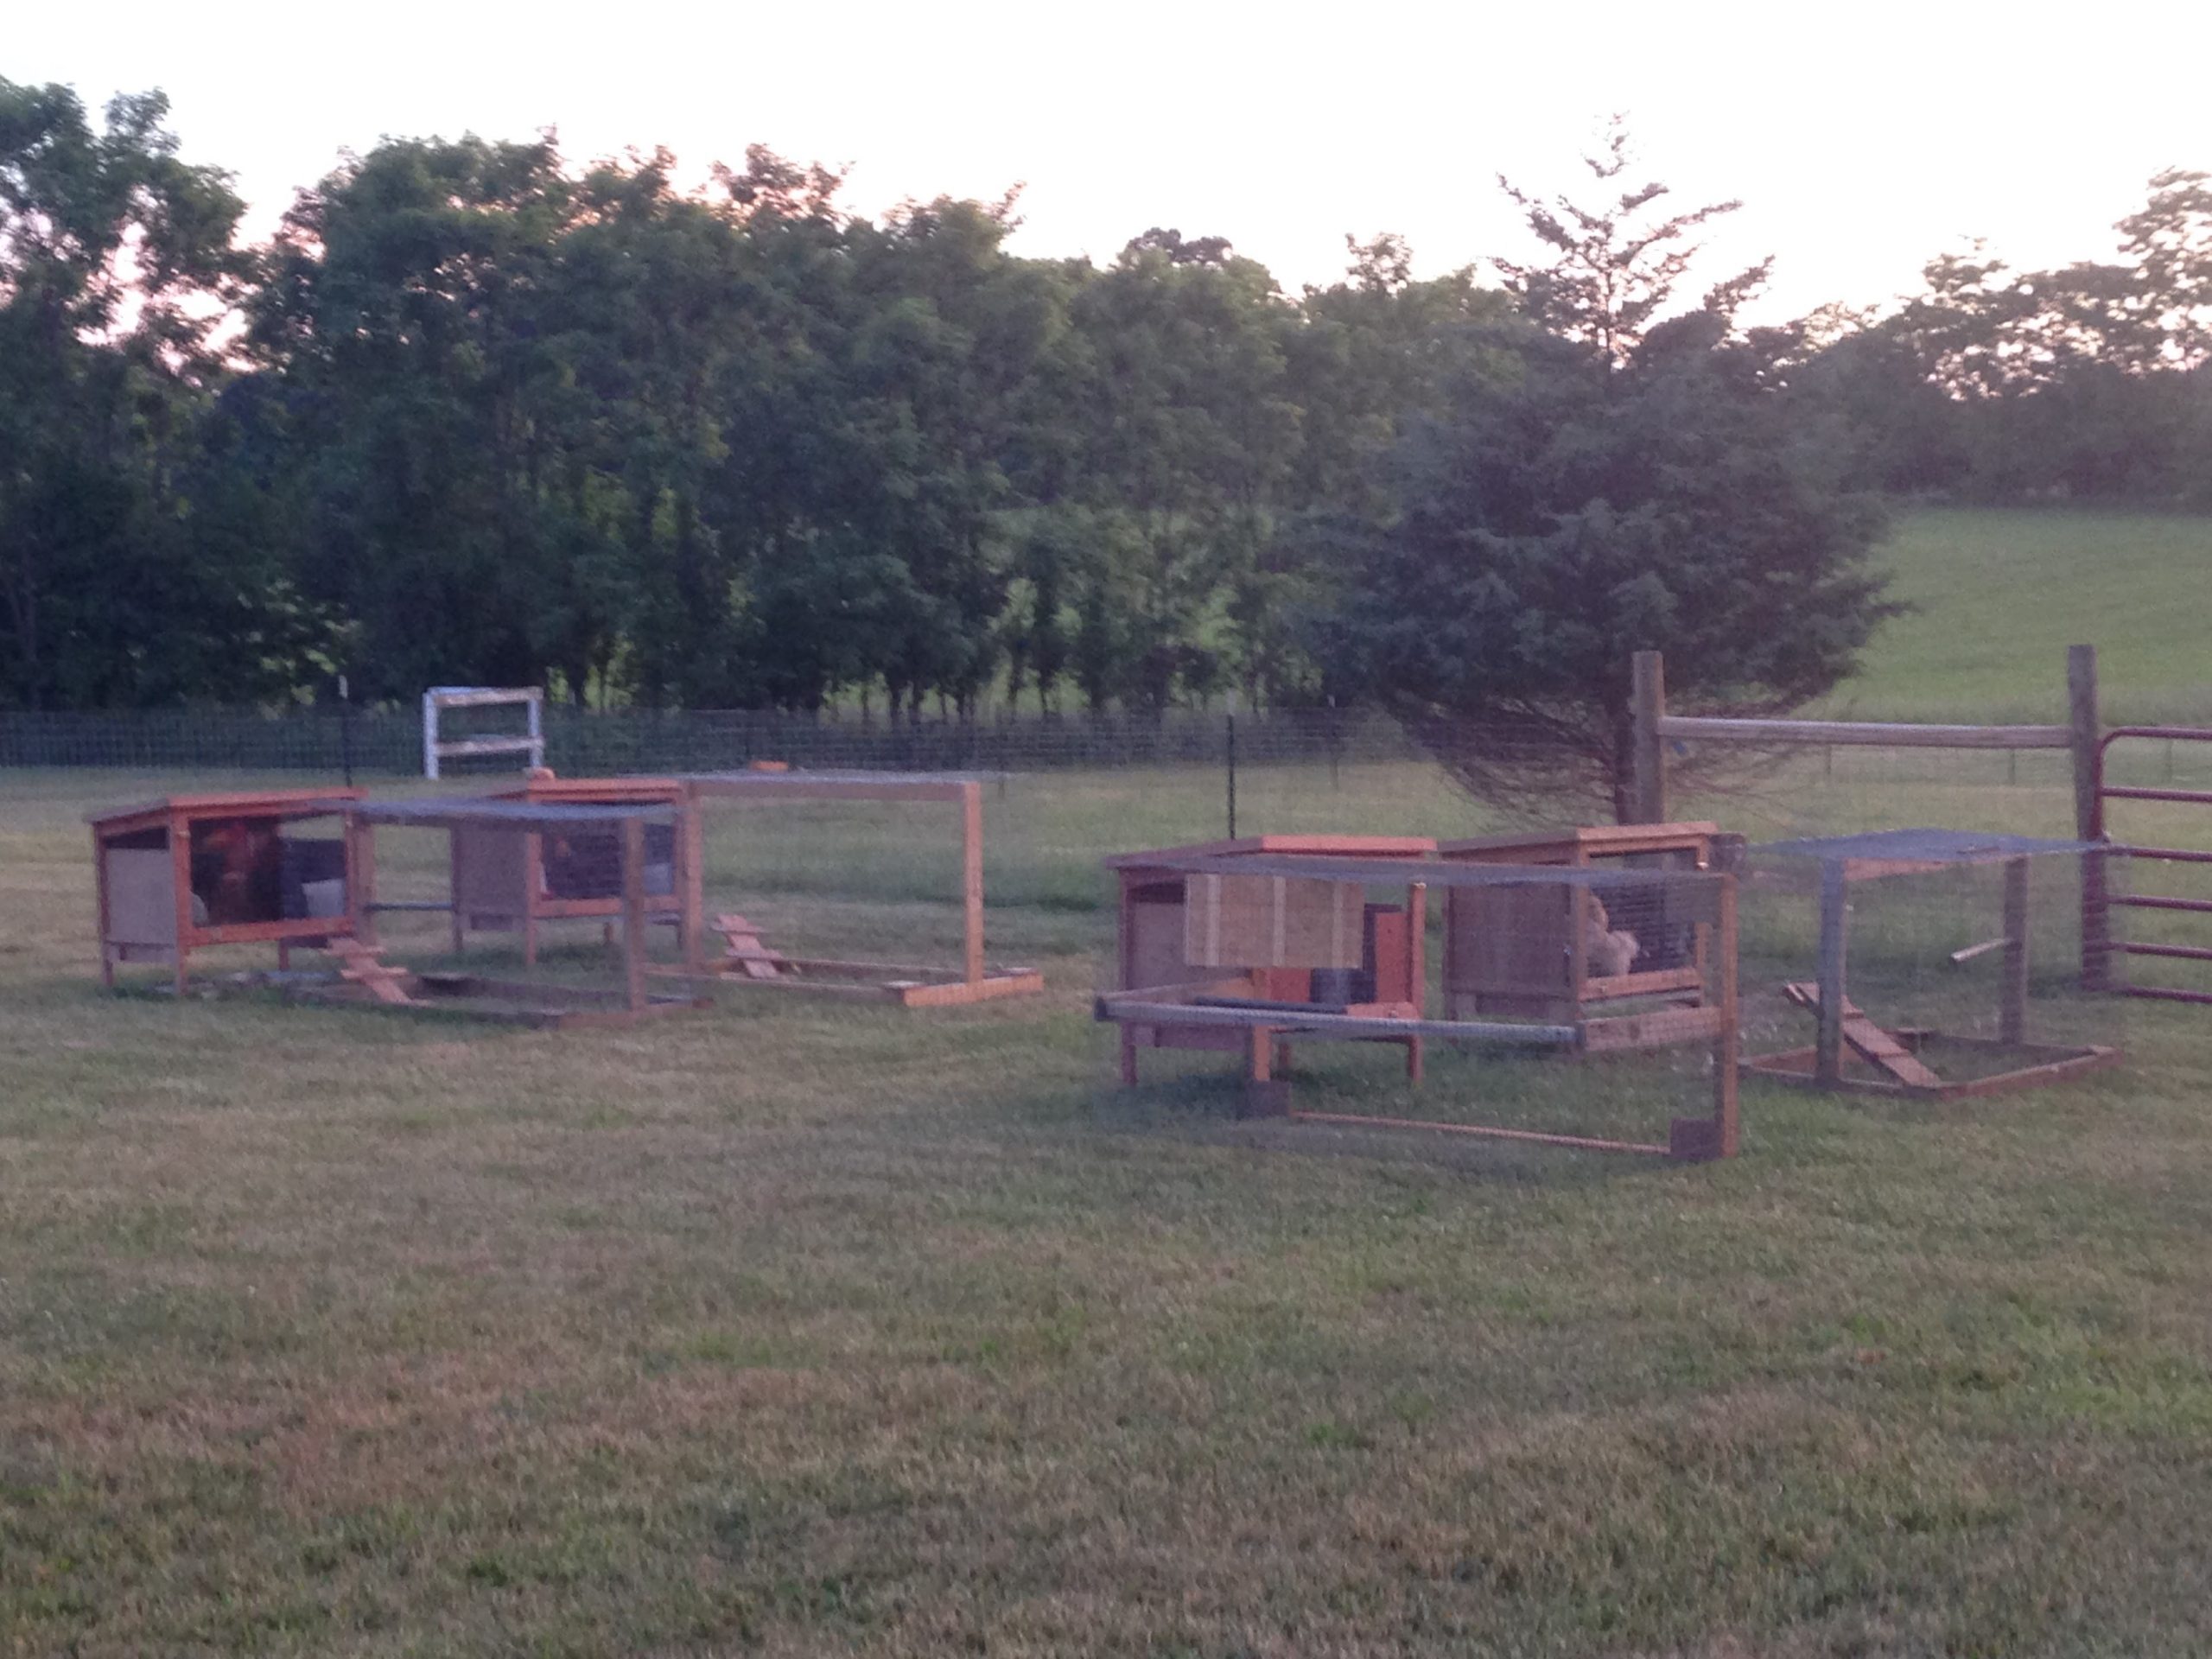
    4 chicken coops with runs in a field

    Add an apron

    Much like you added an apron around the bottom of your chicken coop, you should absolutely do the same around your chicken run.  Since you won’t have a solid coop to attach the wire to, we usually use zip ties to attach the wire several inches up on the run fencing and then dig down and out and bury the remaining section of fencing to create the apron.

    FAQ

    What is the best animal to protect chickens?

    The best animal to protect chickens is a well trained livestock guard dog.  You can use other livestock protectors like guard donkeys or guard llamas, but at the end of the day a guard dog is the most efficient protector.

    Will poultry netting keep predators out?

    Poultry netting will keep predators like hawks out, but is less successful in keeping predators like raccoons out (they can cut through the netting).

    Can a racoon get through chicken wire?

    Yes, raccoons can get through chicken wire.  Use a double layer of chicken wire or thicker hardware cloth to get better protection.

    Can foxes get through chicken wire?

    Yes, fox can climb over, dig under, and go through chicken wire when they are motivated.  It is best to use double chicken wire or hardware cloth similar to what is used to protect against raccoons.

    Do roosters keep predators away?

    Yes, roosters can help keep predators away.  However, at the end of the day, roosters may struggle to defend against predators that are larger than they are.

    If you need more help with taking care of your chickens, check out The Organized Chicken Keeper for a complete system for managing their health through keeping their supplies stocked and coop clean.

    Access The Organized Chicken Keeper Here

    How to Start Homesteading for Beginners

    By MrAnimal Farm

    How we started with small scale farming

    If you are new to homesteading and just starting a homestead then it is important to know the key steps to success.  Of course there is no concrete, set plan for homesteading for beginners.  However, there are some general steps you can take to ensure you make your homestead exactly what you want it to be.

    Keep reading for the 7 key steps you should take to get your homestead off the ground and running just the way you want.

    Homesteading for Beginners 

    • Set Goals
    • Assess What You have
    • Assess What You Need
    • Set A budget
    • Learn & Find a mentor
    • Start Your Projects
    • Evaluate Regularly & Keep Growing

    Of course each person will have a slightly different situation as they start their homesteading.  When talking about homesteading for beginners, you might already have a section of land but not know where to start or you may be in a neighborhood looking to start where you currently are.

    Either way, you will want to follow these general steps so that you can sculpt the homestead of your dreams.

    Homesteading for beginners doesn’t have to be overwhelming, but it certainly can be.  So, make sure you have a plan when you are starting your homestead.

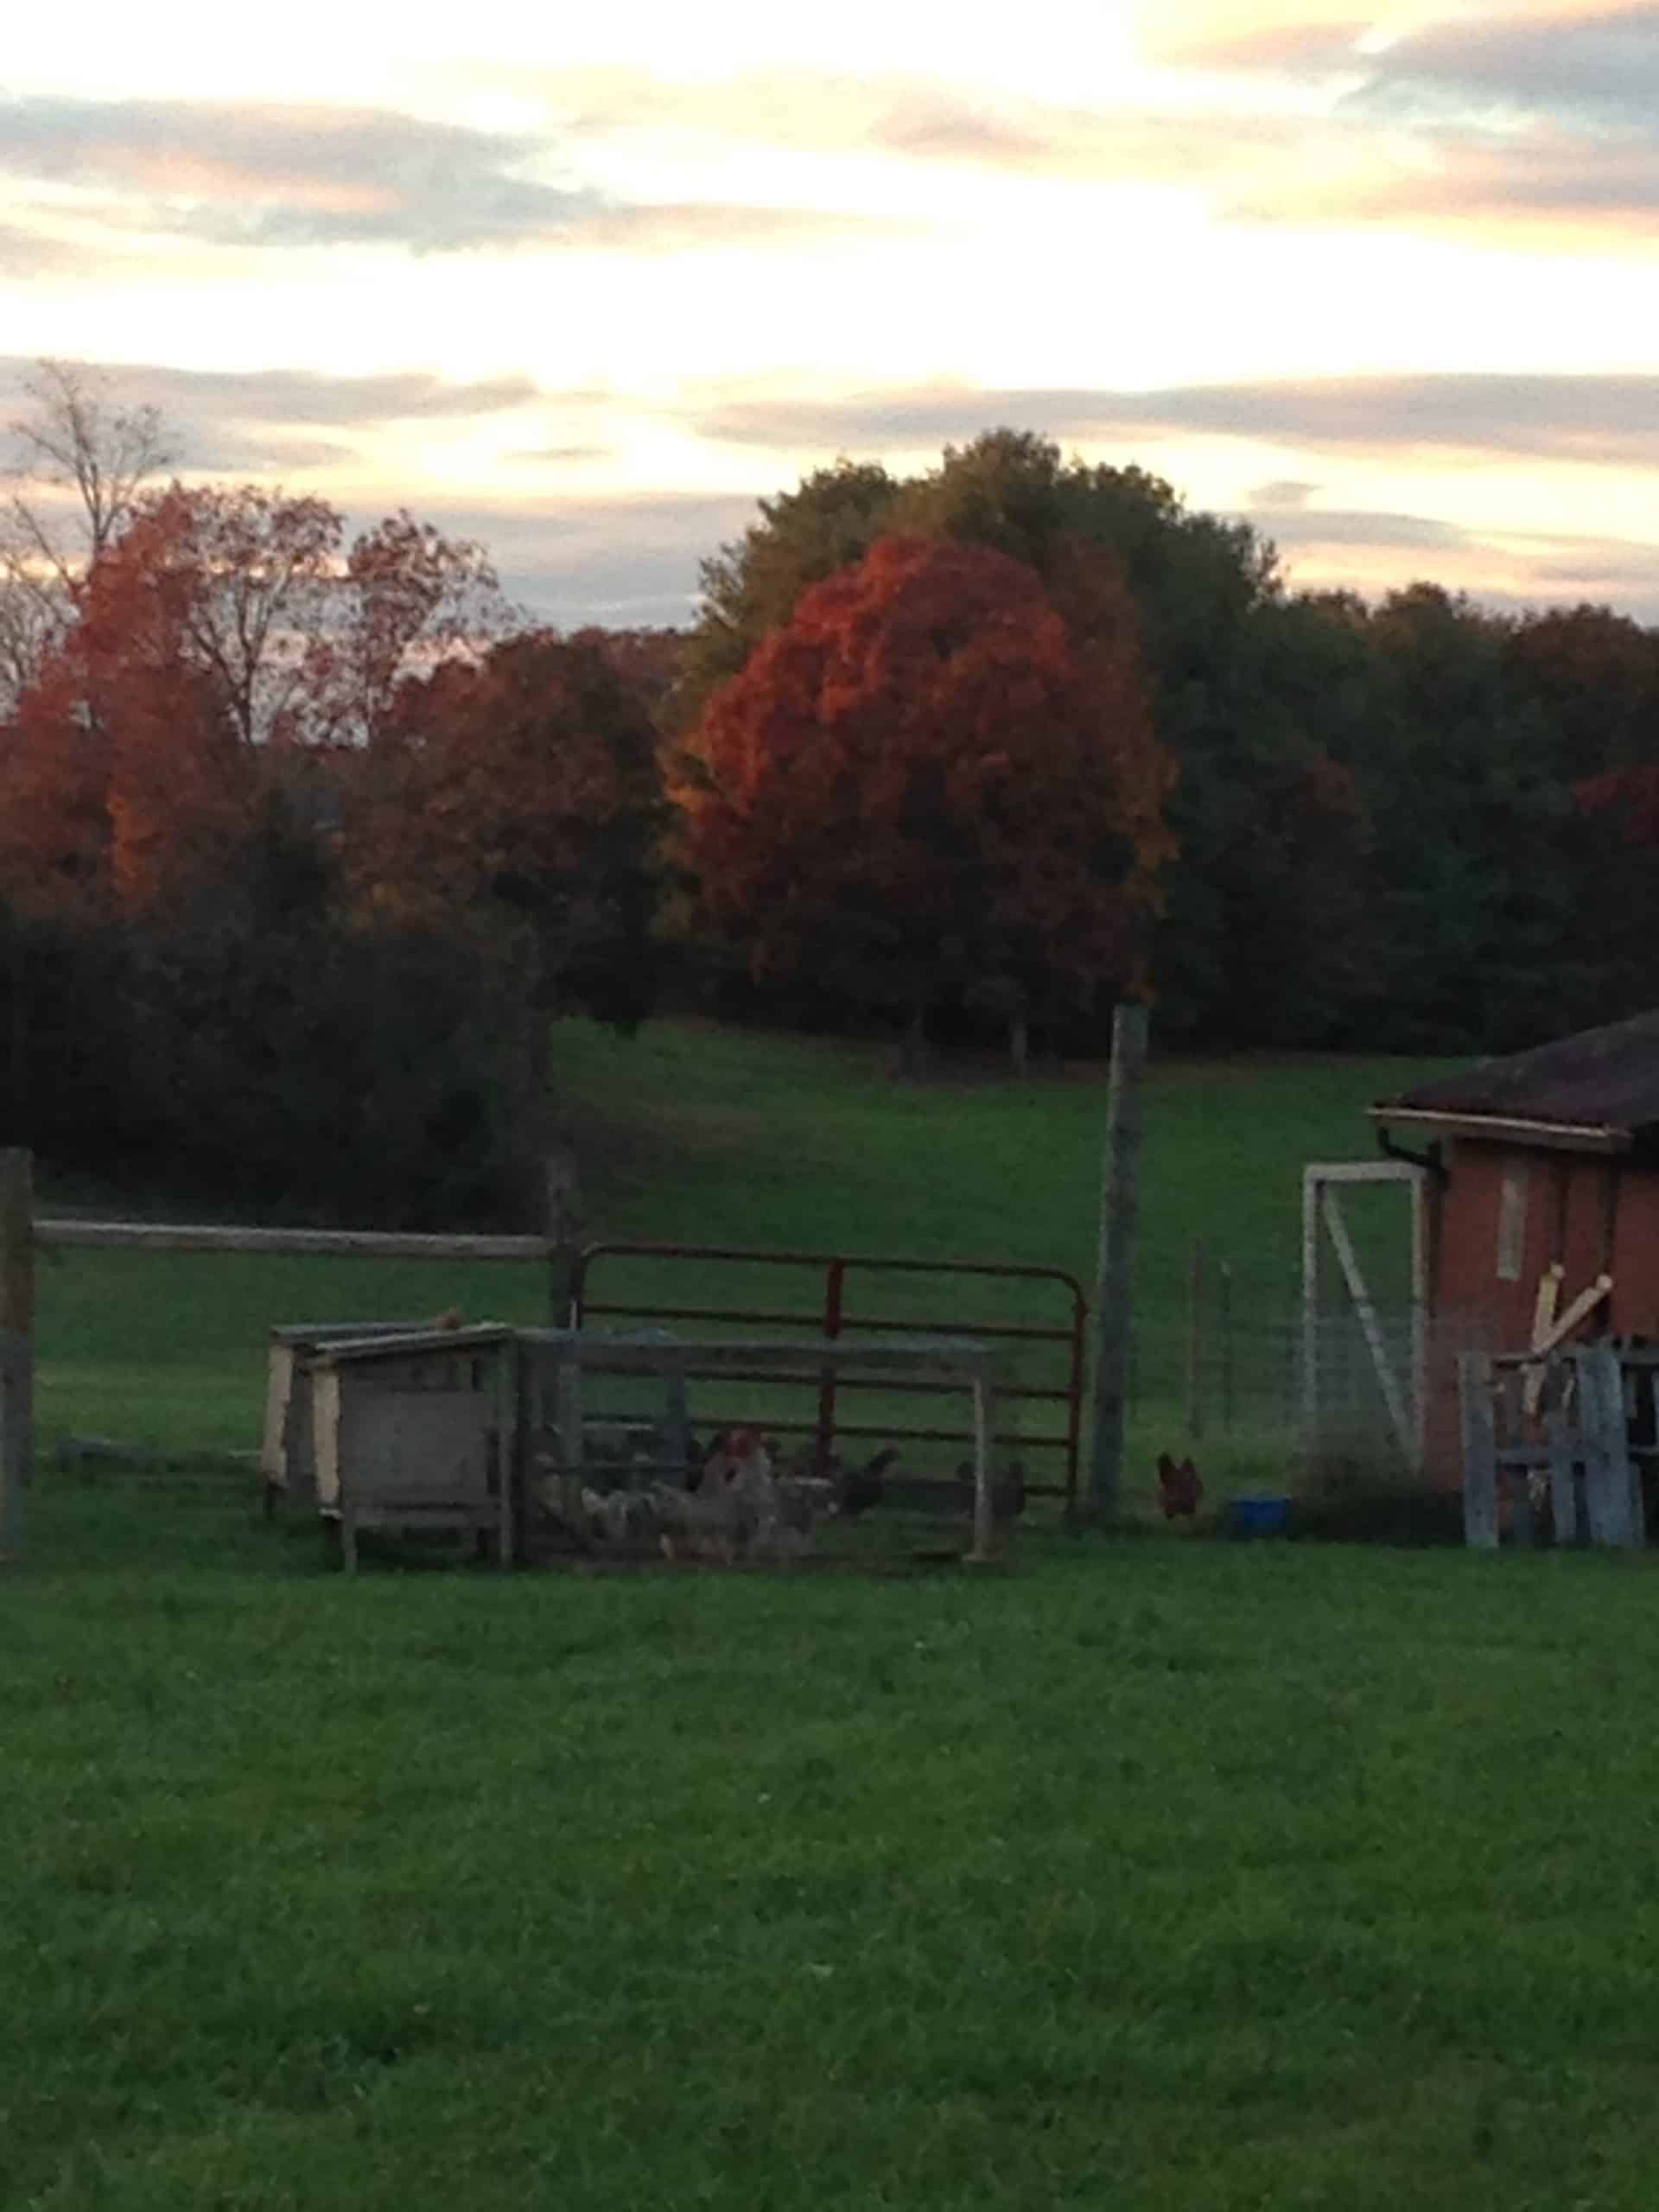
    chicken coops in a field

    Set Goals

    Before you run out and buy all the chickens, seeds or goats make sure that you take time to set goals for your homestead.  One essential ingredient here is to make your goals specific.  We use SMART goals on our homestead.

    SMART goals are specific, measurable, achievable, relevant and time based.  What does this mean?  Well, let’s use an example.

    One of our SMART goals was to generate $1000 per month in profit through selling chickens by the end of the year.  (This was one of very first goals for our homestead which we hit several years ago and have grown since then).

    You can see that this is much better than “make money with chickens”.  I mean, how will you know when you have met that goal?  Is $1 in 5 years achieving it?

    Ensure that you don’t get too overloaded and only set a few big goals for each year.  Perhaps one per quarter is a good amount to strive for.

    Make sure that you write out all of your homestead goals and keep them in a place that you can regularly assess and adjust as needed.

    Assess What You Have

    Once you have your goals set, you will need to start working on plans to hit those goals.  The first thing you will want to do is assess what you have already that will help you work towards the goals.

    If one of your goals is around creating a garden, then you may look at what space you have to use.  Are you in an apartment, but have a balcony for container gardening?  Maybe you have a quarter acre and can spare part of that for your garden.

    What you have can also be skills. For example, maybe you are wanting to raise goats on your homestead.  While, you may not have a barn, maybe you are a skilled builder and you can note those skills as something you have because they will enable you to build your own structure.

    snowy farm house

    Assess What You Need

    Once you have made note of all the things that you have already that will help you work towards your goals, next you need to figure out what you need.

    So, in our gardening example above, you may have the space, but not the containers or raised beds.  Or, in the goat example, you have the skills to build the barn, but not the building materials.

    It is important to really hammer out everything you need because if you forget major things, that can really create issues later.  When you are starting a homestead as a beginner don’t forget to include time as one thing you will need.

    For example, if you are planning to build a barn, that will likely take hours and hours.  If you work full time, have family obligations and other things, it may be that you only get a short amount of time each week to work on it.  

    Set a Budget

    This may be the most stressful part of when it comes to homesteading for beginners.  I mean, you can only do what your budget will allow you to do at the end of the day.  

    For example, if you want 100 acres, you’re going to need a pretty hefty budget, or some way to really save up for that land.

    So, figure out what you can afford and then figure out how to grow your goals within that budget. One way to make your budget go a lot further is to start with things that will also save you money.

    We didn’t have much money to start out with, though we knew we ultimately wanted a lot more.  We decided to start with gardening - it doesn’t cost much to get started.  And, we typically eat all organic which can get quite pricey.  So, we actually ended up saving money with our homestead by growing a lot of our own produce.

    After that, we added in a flock of 17 laying hens (which has since grown exponentially) to get pastured raised eggs.  Again, chickens are a relatively small cost to get started.  We work to save money on chicken feed.  And we usually save money each month by having our own eggs versus buying them from the store.

    Once you are saving some money with your homesteading activities you can take that and add it to your homestead budget and start growing your homestead towards your other goals.

    We reinvested that money we saved into expanding to breeding chickens which turned our homestead profitable and that profit is what funded the start of our goat herd.

    Of course, those are all just suggestions and are based on if you are trying to start a homestead with no money.

    If you have a little more to put into starting your homestead you can jump into bigger things quicker.

    Achieve your homestead goals with these easy goal setting and project planning workbooks.

    Learn & Find A Mentor

    If you are working on homesteading as a beginner, you will find out quickly that there is A LOT to learn.  From best garden soil to chicken diseases to fence building and everything in between.

    Even if you cannot jump into some of your goals right away, you can always start researching and learning now.  That way when you are ready you can jump right in with the knowledge you need.

    Also, especially for some of the more complex parts of homesteading, you may want to find a good mentor.  They can prove invaluable as you continue on your journey.

    A lot of things that happen on a homestead are learned just through experience, so having an experienced mentor can help you avoid issues and pitfalls.

    Start Your Projects

    At this point, you should have your goals set, supplies listed and budget ready to go.   So, now is the time to get your homestead projects started. 

    Make sure that you schedule out your projects on a timeline that is reasonable.  For example, you probably aren’t going to build an entire barn in one day.  However, you might be able to get your garden area prepped in one weekend.

    It is good to hold yourself accountable for at least some general timeframes that way you don’t start things and never finish or, conversely start things and wear yourself out doing too much all at once.

    Homesteading is definitely a marathon, not a sprint.

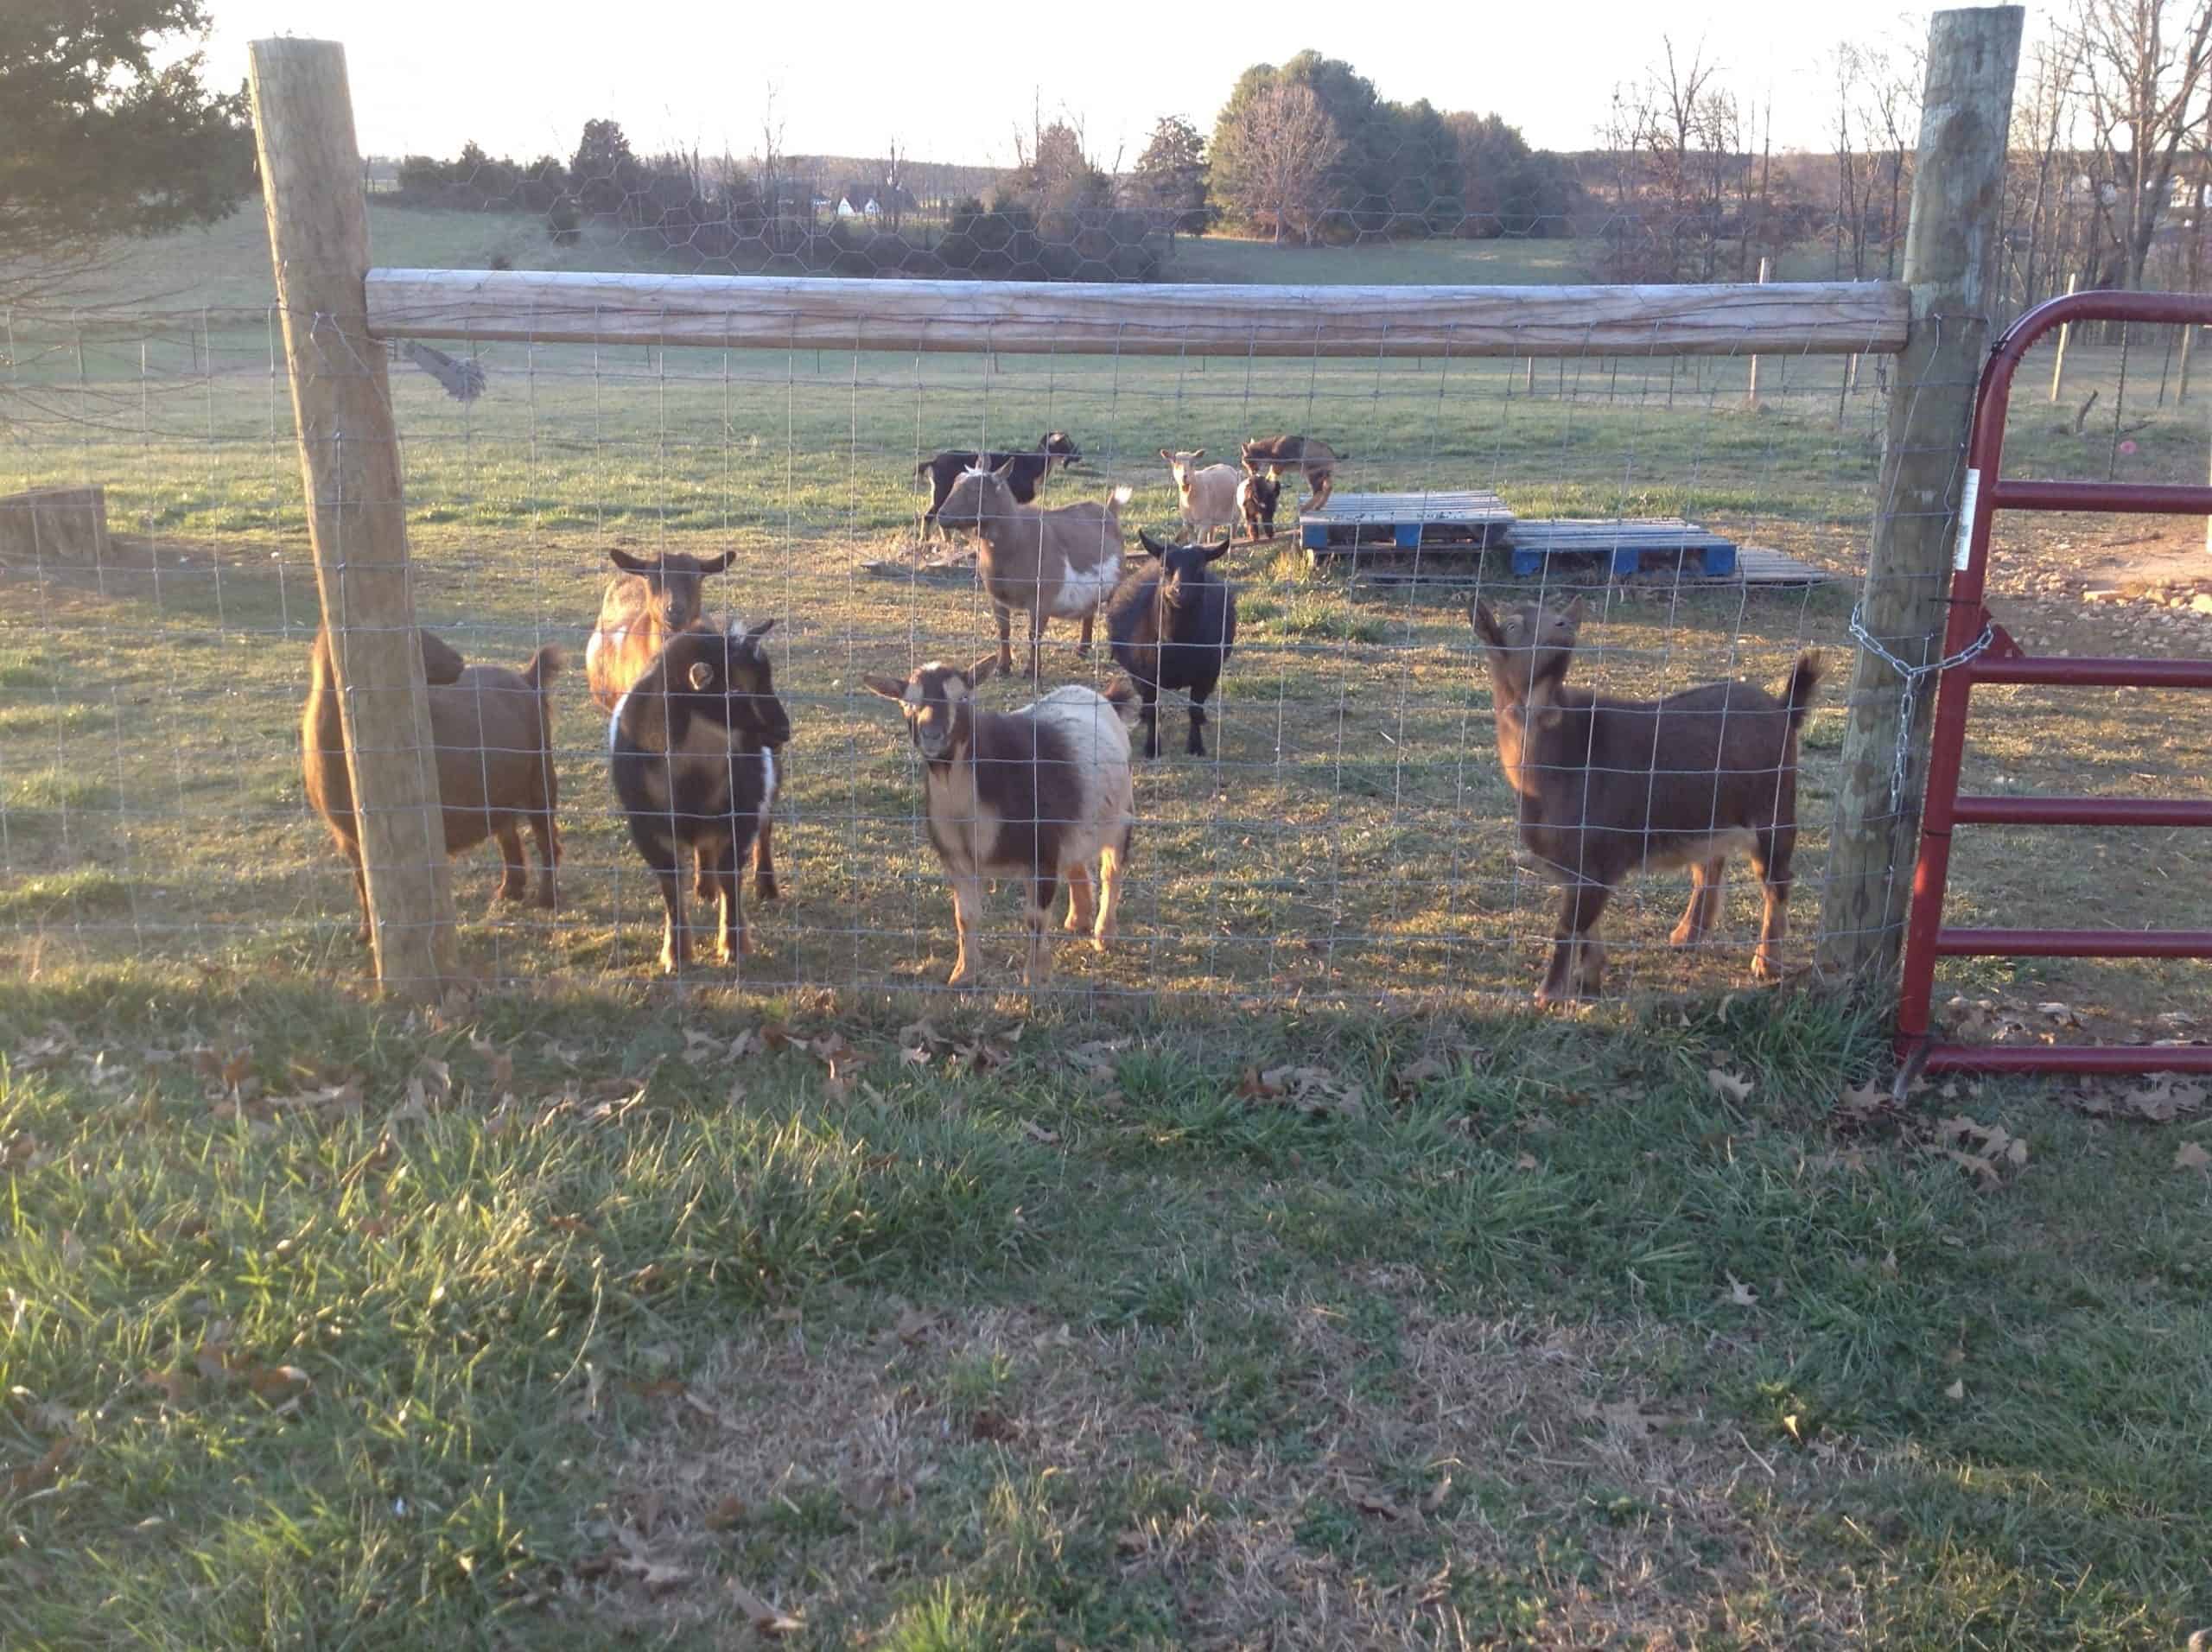
    goats behind a fence

    Evaluate Regularly & Keep Growing

    This last step in homesteading for beginners is key and one that some people miss.  You want to always be evaluating your goals, assets and progress.  

    Keep note of how things are going, what you may want or need to change and keep moving forward.

    Homesteading can be so rewarding, but it can also be overwhelming.  So, make sure that your goals are achievable and that you are making headway toward them.

    Also, it is OK to pivot as you learn more and see what works best for your homestead situation.

    It is good practice to do at least monthly, quarterly and annual check-ins on your homesteads progress. Typically, we start with an annual plan, break it up into quarters.  Then, at the start of each quarter we distribute tasks and goals into each month and also take some time to assess how the previous quarter went.

    Assessing the previous quarter with lessons learned really helps you to see how you’re doing, but also what maybe needs some change or tweaking for next time.

    FAQ

    What skills do I need for homesteading?

    Some skills that are handy for homesteading are: being frugal, being able to build things, being resourceful and being resilient.  Of course, there are a whole slew of other skills that are important and which you need or don’t need can vary based on what you decide to do on your homestead.

    Is homesteading hard?

    Yes, homesteading is really hard.  However, it is also very rewarding. And, if you use careful planning then it doesn’t all have to be hard.  I mean, how hard can adorable baby goats be?! (If you ignore the all night bottle feeding anyway).

    What is modern homesteading?

    Modern homesteading is living a more self-sufficent life with what you have.  It is all about going back to the basics, growing your own food, making your own items and doing other things that make you less dependent on others and give you more control over the things in your life.

    How do you homestead in the suburbs?

    Homesteading in the suburbs involves a little creativity usually.  You will need to maximize your space, choose your animals wisely and be reasonable with your goals given the size of the space that you have.  It is definitely possible, with a little planning.

    Why do people start homesteads?

    People start homesteads to be more self-sufficient, take ownership of their food supply, raise their own animals in a humane way, save money, live a simpler life,  have more privacy and so much more.  There are really so many different reasons that people may start a homestead, but those are some of the main reasons.

    If you found this helpful check out, The Fruitful Homesteader: A Goal Setting and Project Planning System so that you can get your homestead working for you.

    Click Here to Access the Planning System
    • « Go to Previous Page
    • Go to page 1
    • Interim pages omitted …
    • Go to page 7
    • Go to page 8
    • Go to page 9

    Primary Sidebar

    kristin, justin and goat

    Hey, we are Justin & Kristin! Welcome to MrAnimal Farm where we share our knowledge on homesteading, livestock and poultry, gardening and food preservation

    More about us →

    Popular Posts

    • Differences Between Ameraucana, Aracana and Easter Egger Chickens
      The Araucana Vs Ameraucana Vs Easter Egger Chicken
    • Chickens That Lay Green Eggs - What Chickens Lay Green Eggs
      Chickens That Lay Green Eggs - What Chickens Lay Green Eggs?
    • brooder box for chicks
      Chick Brooder Plans - How to Build a Brooder in 3 Steps!
    • Curled toes in Chickens
      Curled Toes in Chickens - Causes and Treatment
    • Goat Toys
      DIY Goat Toys: Cheap Toys to Keep Your Goats Busy
    • hen or roo
      How To Sex A Chicken & Tell A Hen From A Rooster

    Fall Homesteading

    • Fresh carrots and beets being held over a wooden table.
      15+ Fall Garden Crops For a Longer Harvest
    • Molting Chickens
      Molting Chickens - What, Why & How to help!
    • two butternut squash on a wood board
      Can You Freeze Butternut Squash ?
    • Goat Breeding Planning - Using ADGA to Make the Right Matches
      Goat Breeding Planning - Using ADGA to Make the Right Matches

    Footer

    Amazon Affiliate Disclosure

    We are a participant in the Amazon Services, LLC Associates Program, an affiliate advertising program designed to provide a means for sites to earn advertising and linking to Amazon.com. As an Amazon Associate we earn from qualifying purchases.

    Privacy Policy

    For details on our privacy policy click here.

    Copyright © 2026 · MrAnimal Farm